
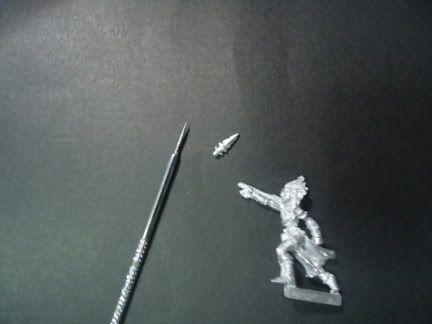
I'm filling out my Tharn Bloodtracker units to a full ten-man squad and I also got Unit Attachment as well. While less fiddly than some of the models in Privateer Press' line, the Tharn ladies suffer from a bending problem. It's time to replace the weapon shafts with something a lot more durable.
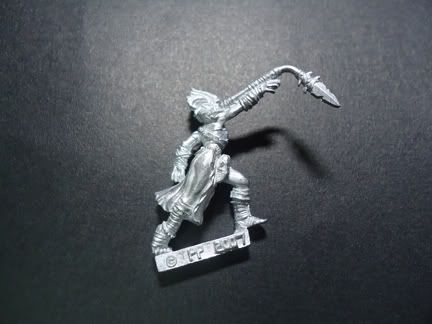 |
| No matter what game line you play, whichever manufacturer you buy from, if you're working with metal figs you'll end up with something like this. A bent shaft. Ouch! No worries though because most of the time you can just bend em back straight. |
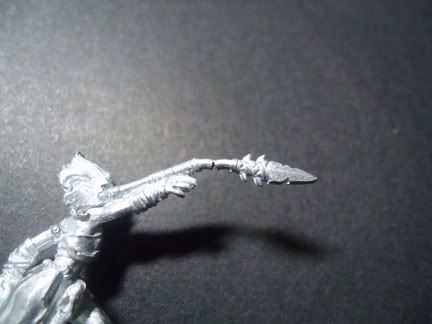 |
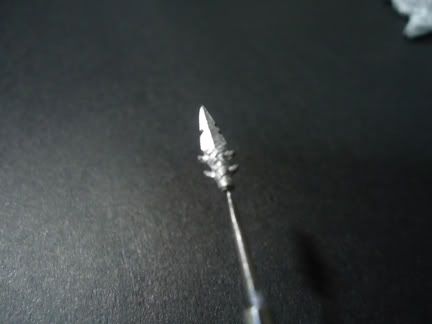
| ... but this isn't one of those times. We're gonna have to operate. |
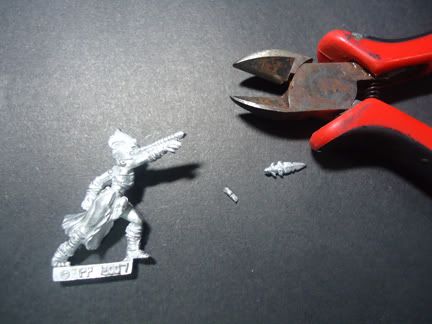 |
| Snip snip. (Nurse hand me the guava leaves...) On a side note, this is the second appearance of Lord Tetanus. |
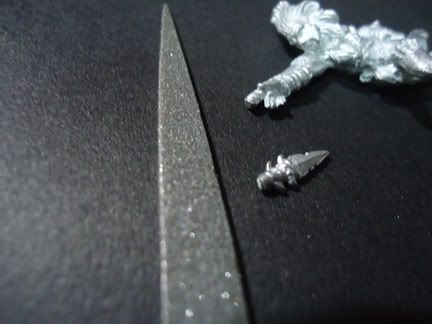 |
| Make sure you file the contact points flat. Make sure you file in one direction. |
 |
| Get yourself an awl or a needle tool or any other pointy pokey device (patent pending) |
 |
| White metal is pretty soft (thats why we have this problem in the first place) so your pokey thing should penetrate and create a good pilot hole |
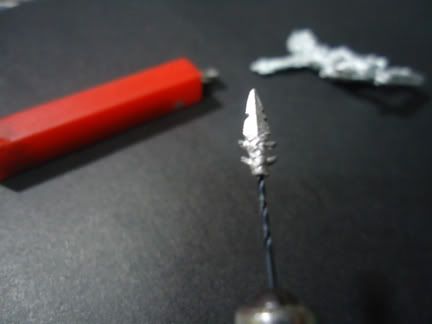 |
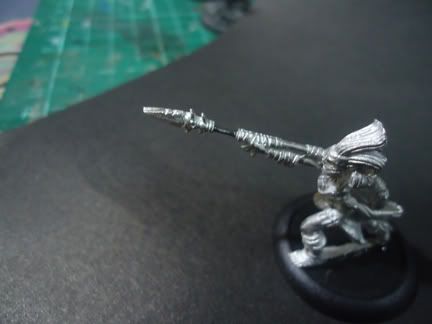
| The pilot hole is important because it'll help keep your pinvice drive that drill down straight. Very important for narrow pieces like this spearhead. Do the same for the spear shaft. |
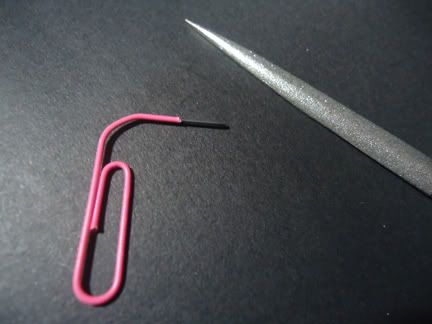 |
| For the replacement shaft, get a paperclip that fits the holes that you just made. Make sure you rough up the wire with a file to give the superglue something to grip to. |
 |
| Take your time, keep a steady hand and an even pace and with the drilling. Dry fit the parts and use superglue to finish the repair. |
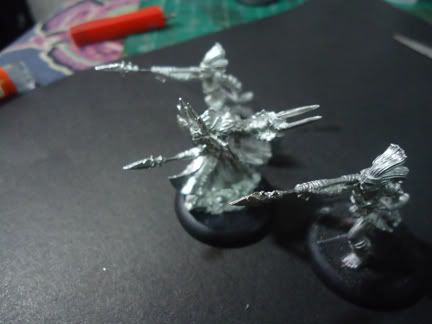 |
| I did this for two more models in the unit. I also used the technique to pin the arms for the Bloodtrackers as well. |
So there ya have it :). I'll have a few more updates on the ladies once I start painting them.
No comments:
Post a Comment