
We'll be casting stuff using Oyumaru. Yosh!
I got a packet of Oyumaru from Junex at a pretty good price. Oyumaru is the japanese equivalent of Instamold and from what I can make out from the packet its primarily used for sculpting itself rather than casting. I could be wrong though. There are a lot of youtube videos showing folks how to use instamold so I didnt have to worry about the japanese instructions.
I apologize for the crappy pics. I was taking pics as I went along and I didn't have time to set up a tripod and better lighting.
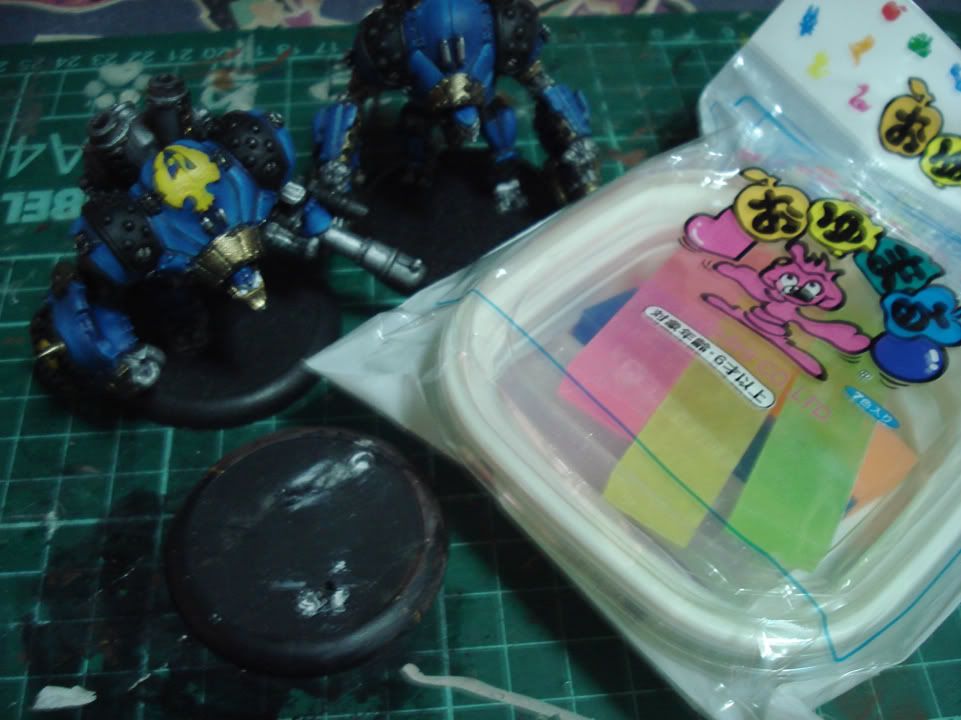 |
| The festive packet held 7 sticks of material. Seems like a better deal than Instamold in that regard... |
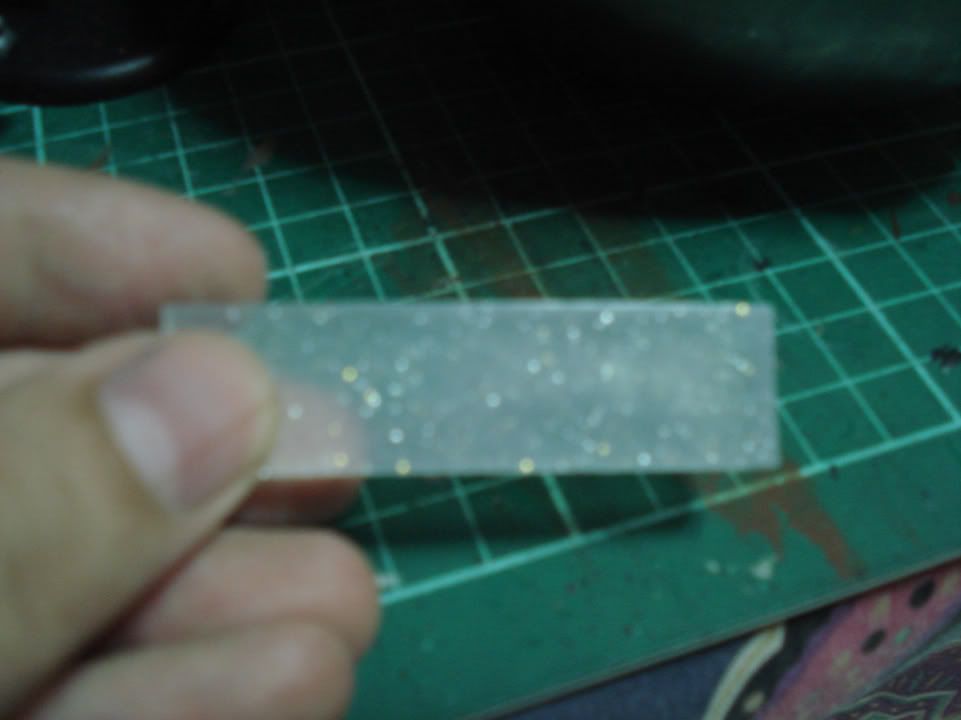 |
| You can see that the sticks came in different colors and I decided to use the sparkly one. I promise to keep the Twilight jokes in check. |
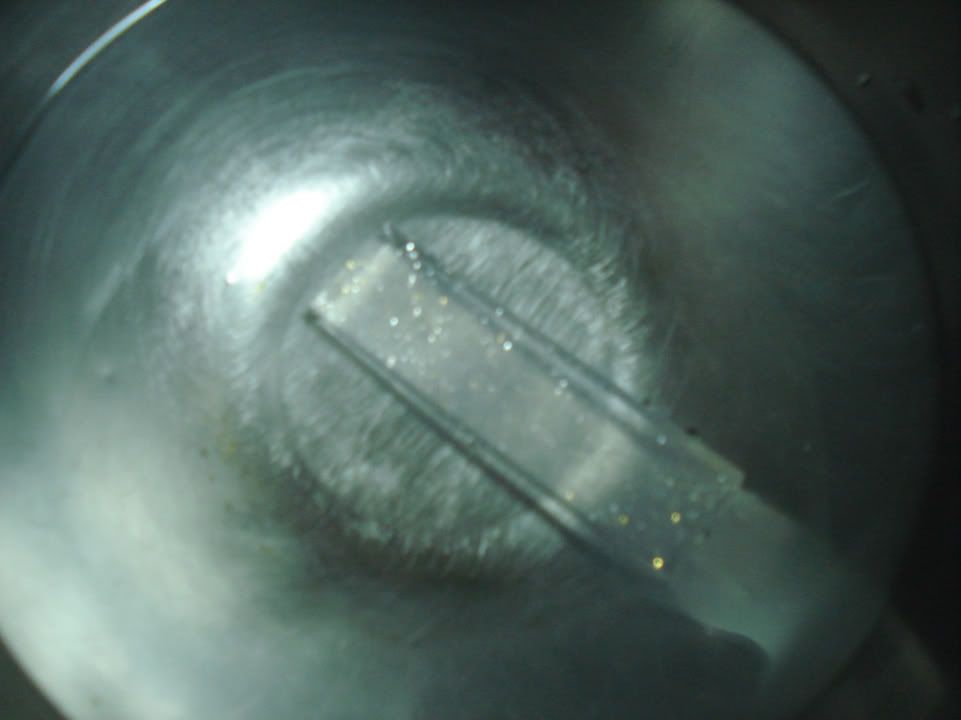 |
| Oyumaru and Instamold are softened by putting them in hot water for a few minutes... |
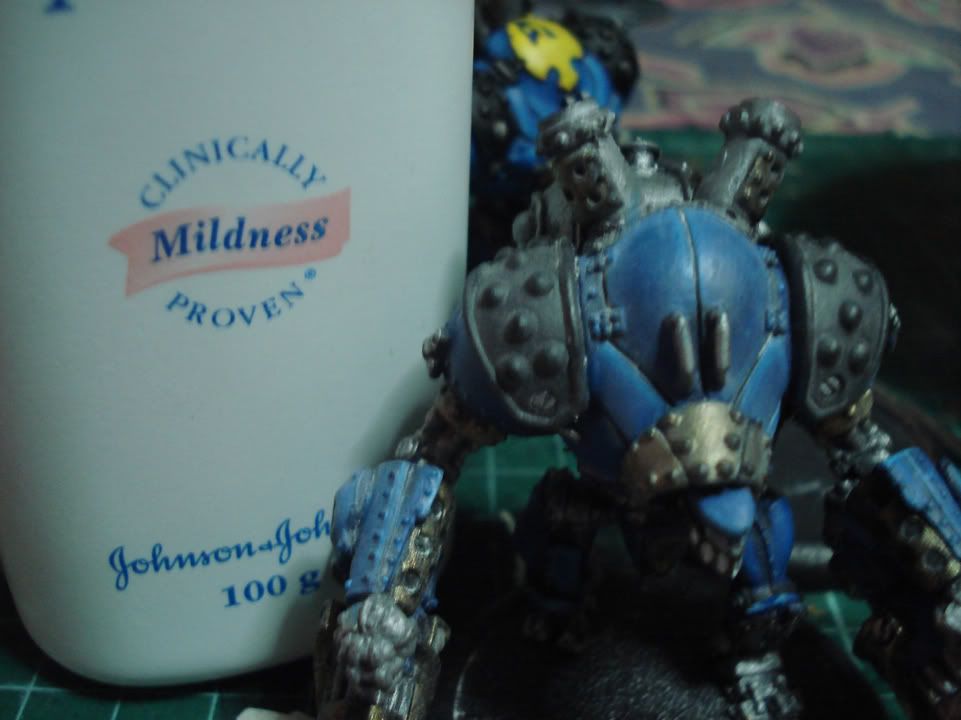 |
| While the Oyumaru is steeping I went on and prepped the model I was going to cast with talcum powder. In this case, its a Cygnar Cyclone Heavy warjack. Oyumaru supposedly doesn't need a release agent but I didnt want to take chances since this is a painted fig and the fig isn't mine :D |
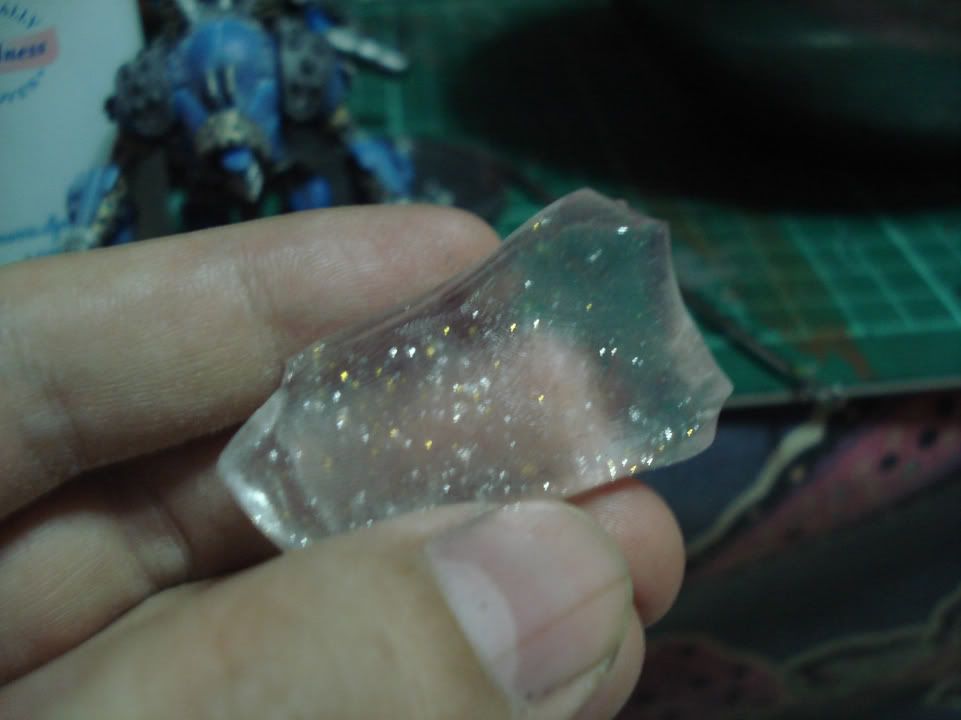 |
| The stuff kneaded easily while hot. You can feel it get cool real quick though... |
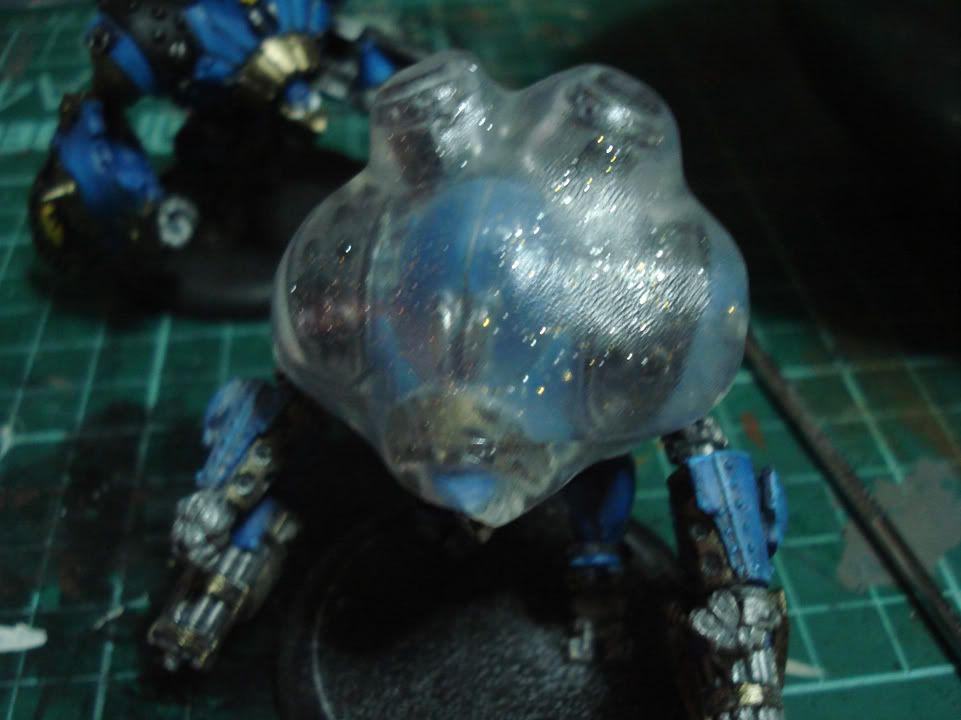 |
| ... so I had to work fast and start pressing it against the part I wanted to cast. I made sure to push the Oyumaru into every nook and cranny well. |
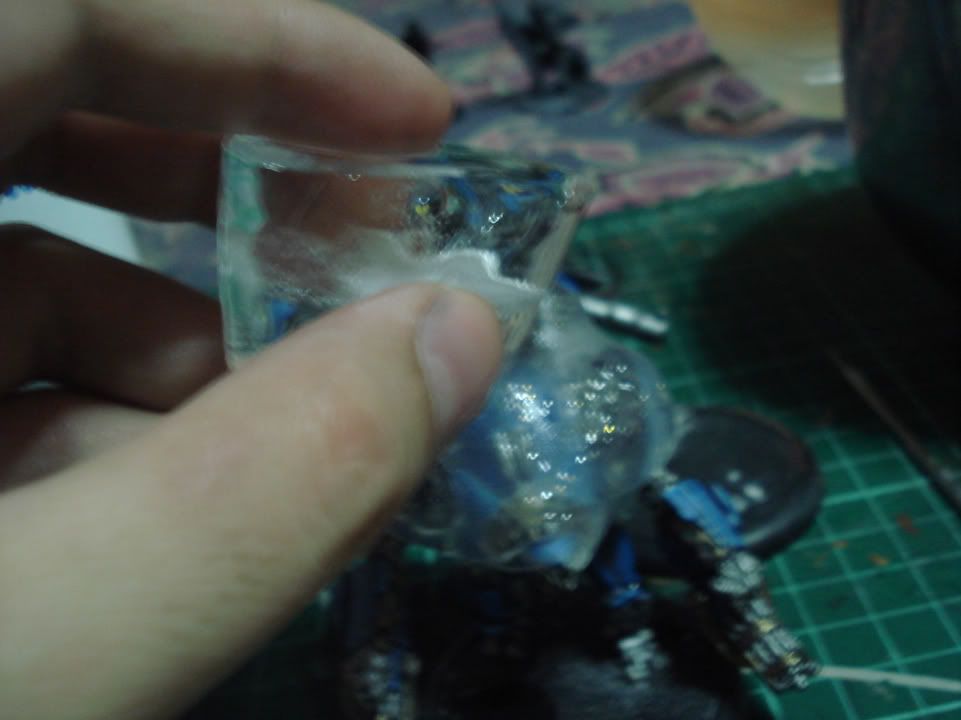 |
| After I was satisfied with my mold placement, I cooled the mold with an ice cube so I can pop it off. |
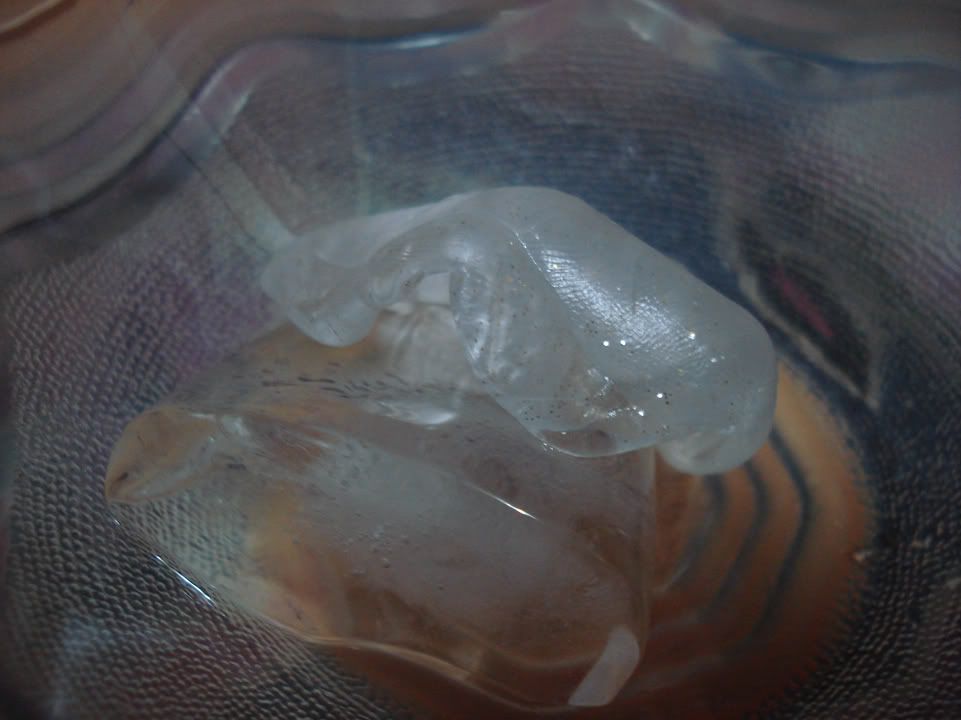 |
| I was able to pop the Oyumaru off. I decided a couple minutes on the ice cube should let it set real well. |
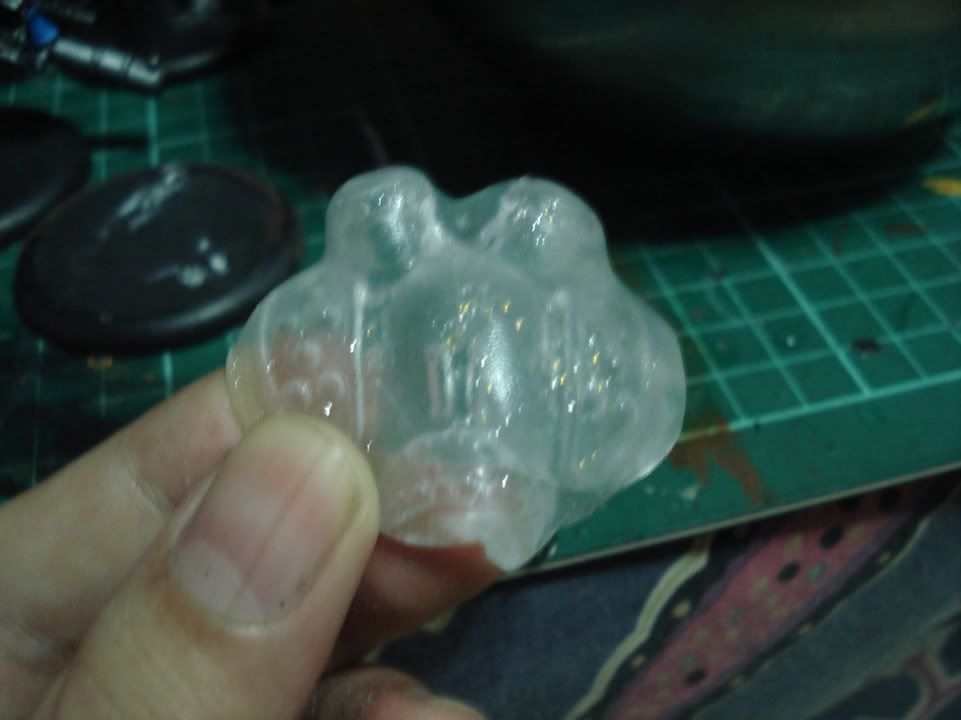 |
| And here's my mold. You can see the detail that was retained. |
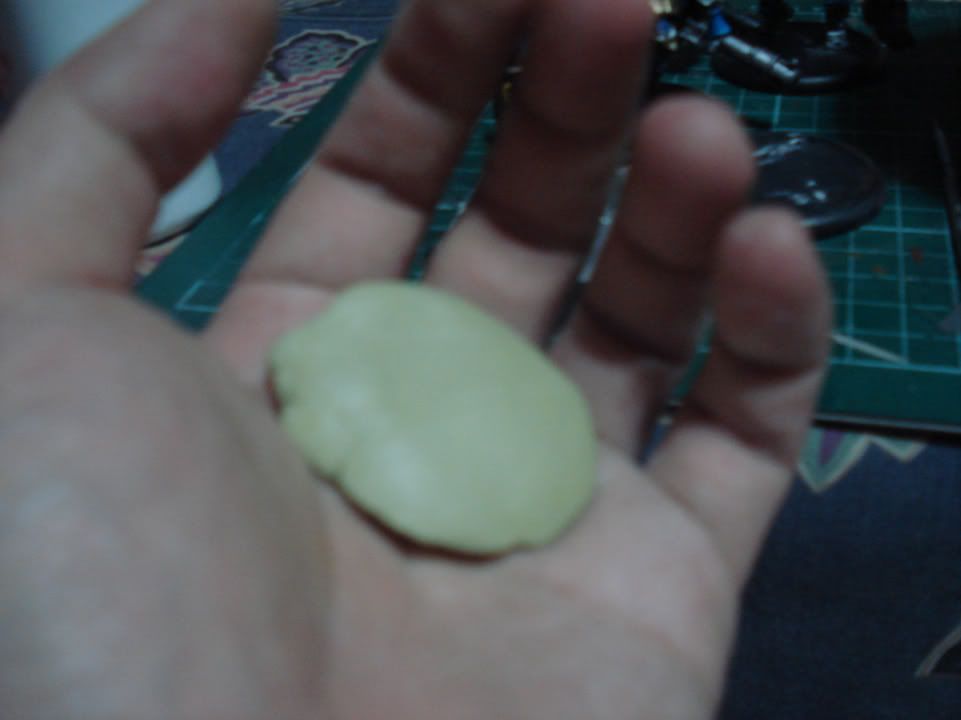 |
| I prepped a blob of milliput using talc on my hands to keep it from sticking. |
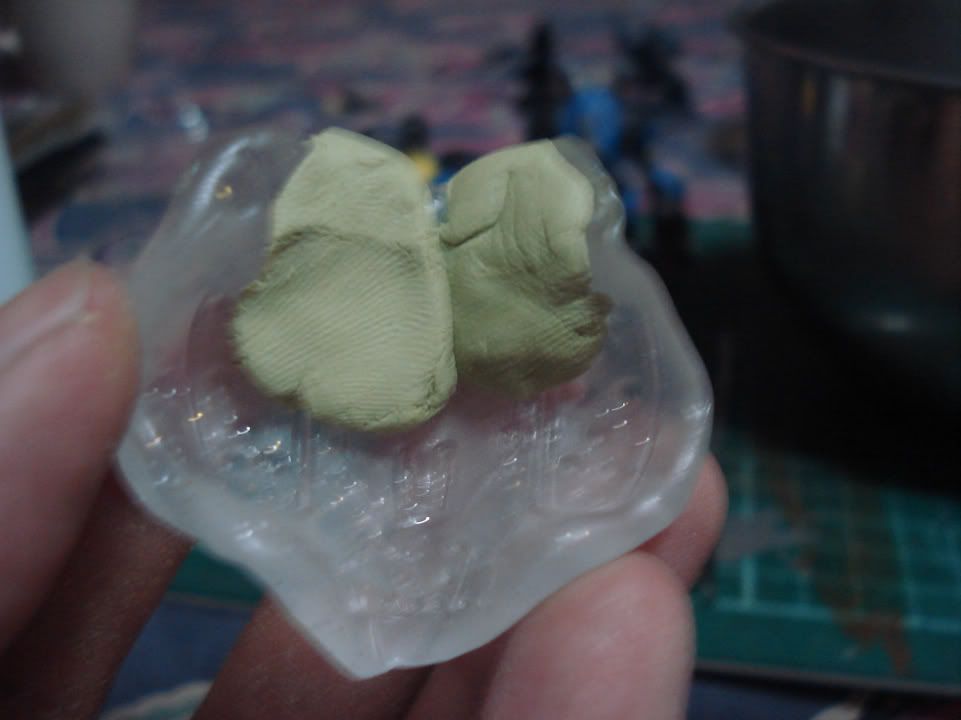 |
| Now this is the part I should've spent more time with in hindsight. I pressed the milliput into the mold in little pieces to minimize the air bubbles. |
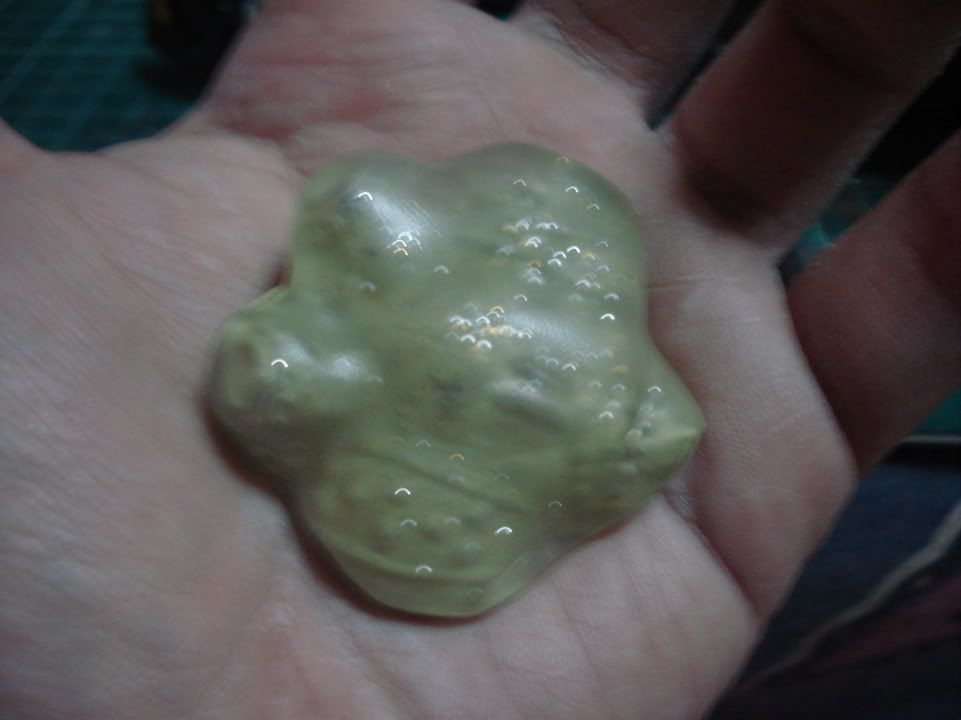 | |
| The mold flexes a bit but goes back to the shape it had when cooled. I tried to push the milliput in all the crevices as best as I could. |
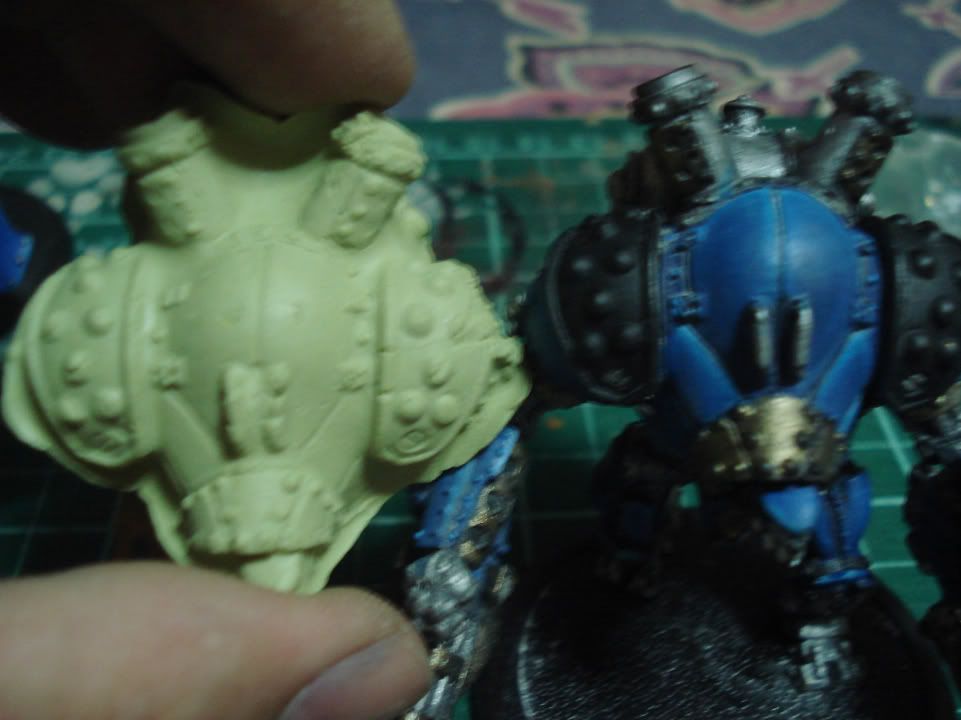 |
| After an hour I was able to pop off the Oyumaru from the milliput. The milliput is still soft at this point but stiff enough to hold it's shape. |
I think my first mold went pretty well. If you look at the last picture closely you'll see some creases and air pockets that I missed. For my purposes though this is perfect. The milliput hardens up really nicely after 24 hours. It's pretty strong but still easily workable. i tried to snap off the smokestacks but I couldnt. Neat!
I'll trim some of the excess milliput off which is easy with a sharp blade and drill holes into the smokestacks.
So what will I be using the finished piece for? Well, the last post should give you a clue ;)
