Showing posts with label Assembly. Show all posts

Tuesday, May 24, 2011

Project 365: Day 100 - Oyumaru!

I was about to write another rant but ah, screw that. Let's just get back to fun stuff.

We'll be casting stuff using Oyumaru. Yosh!

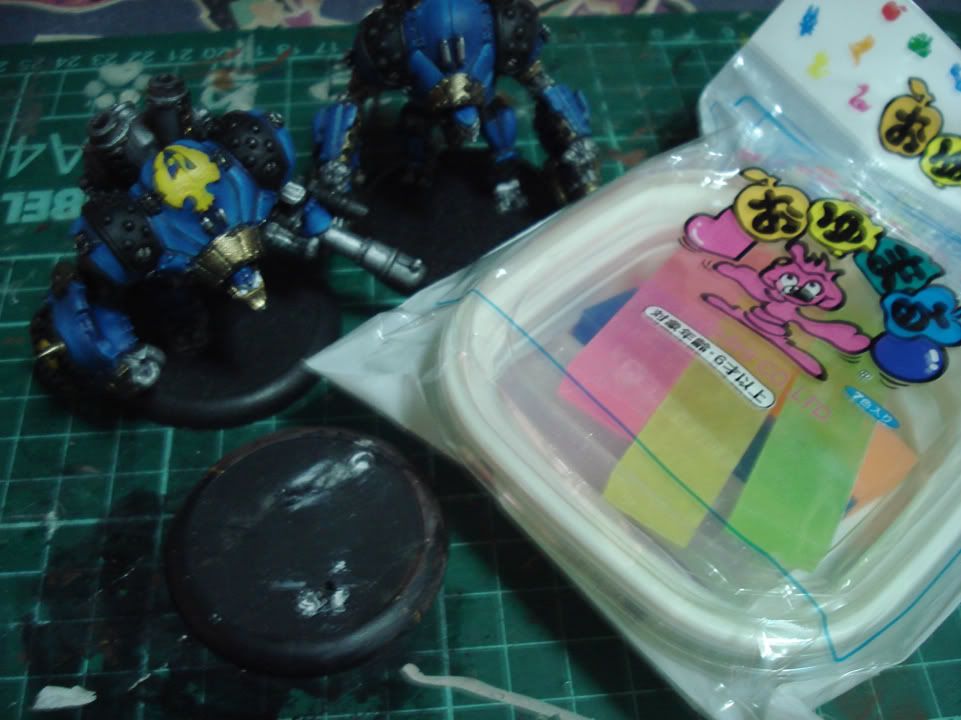
I got a packet of Oyumaru from Junex at a pretty good price. Oyumaru is the japanese equivalent of Instamold and from what I can make out from the packet its primarily used for sculpting itself rather than casting. I could be wrong though. There are a lot of youtube videos showing folks how to use instamold so I didnt have to worry about the japanese instructions.

I apologize for the crappy pics. I was taking pics as I went along and I didn't have time to set up a tripod and better lighting.
The festive packet held 7 sticks of material. Seems like a better deal than Instamold in that regard...
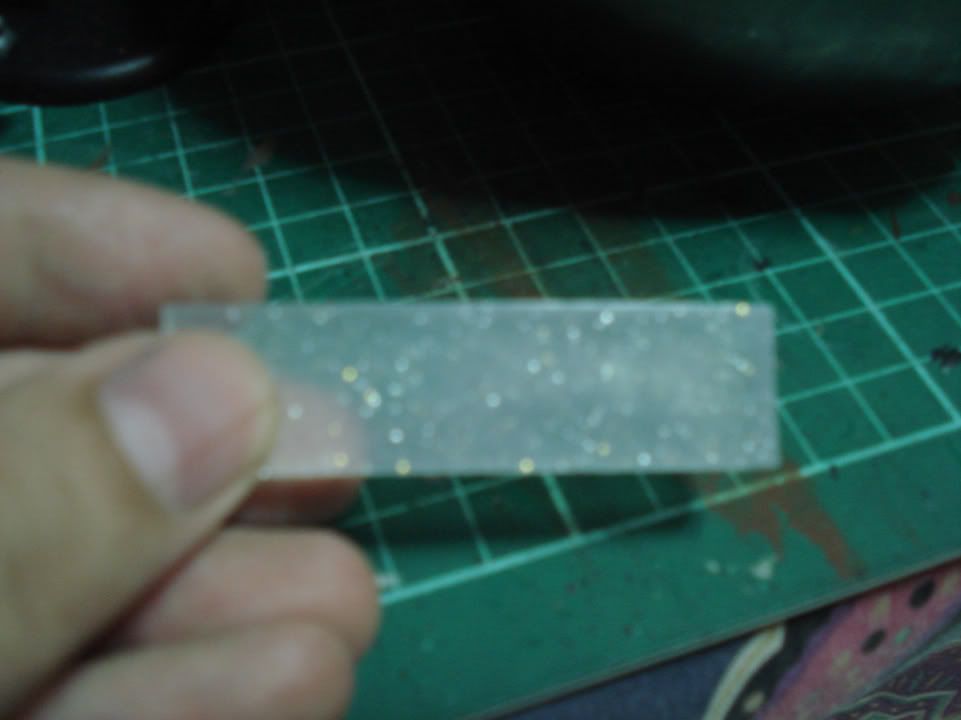
You can see that the sticks came in different colors and I decided to use the sparkly one. I promise to keep the Twilight jokes in check.
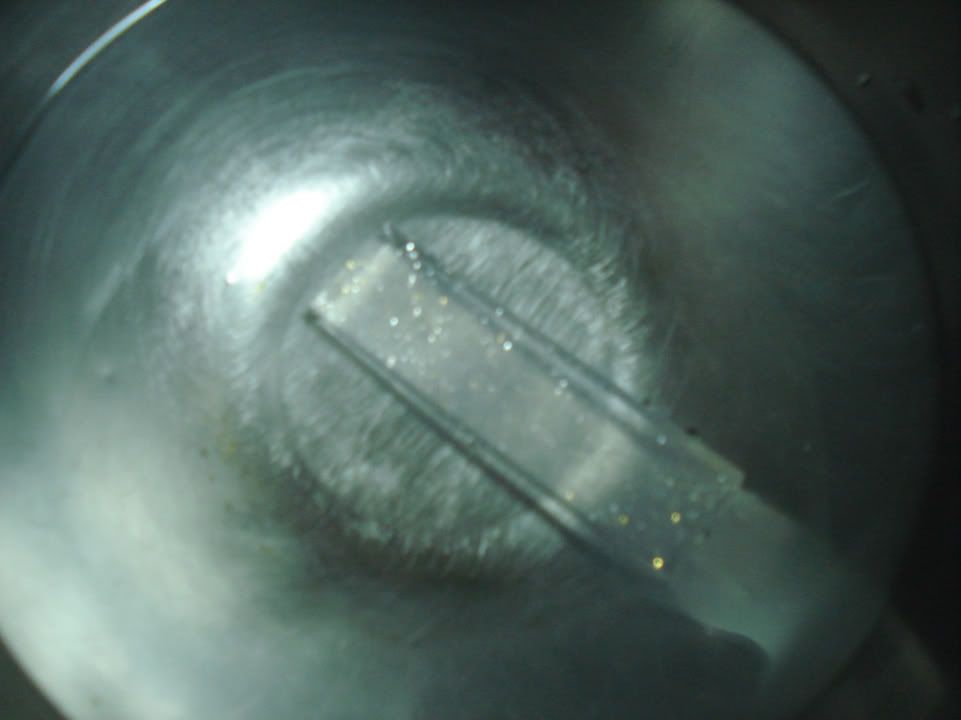
Oyumaru and Instamold are softened by putting them in hot water for a few minutes...
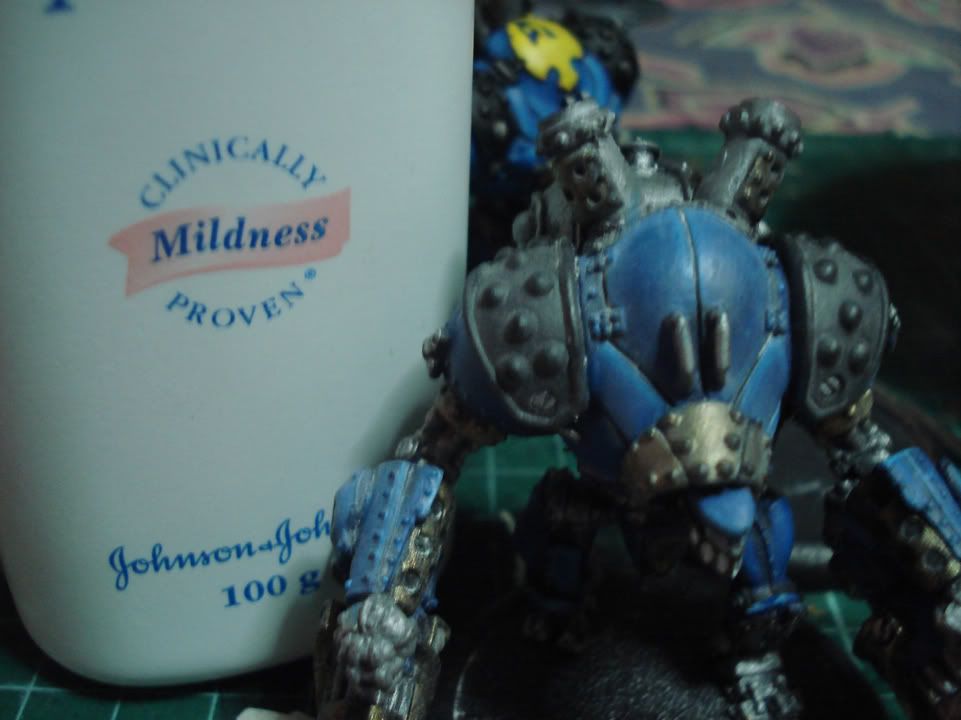
While the Oyumaru is steeping I went on and prepped the model I was going to cast with talcum powder. In this case, its a Cygnar Cyclone Heavy warjack. Oyumaru supposedly doesn't need a release agent but I didnt want to take chances since this is a painted fig and the fig isn't mine :D
The stuff kneaded easily while hot. You can feel it get cool real quick though...
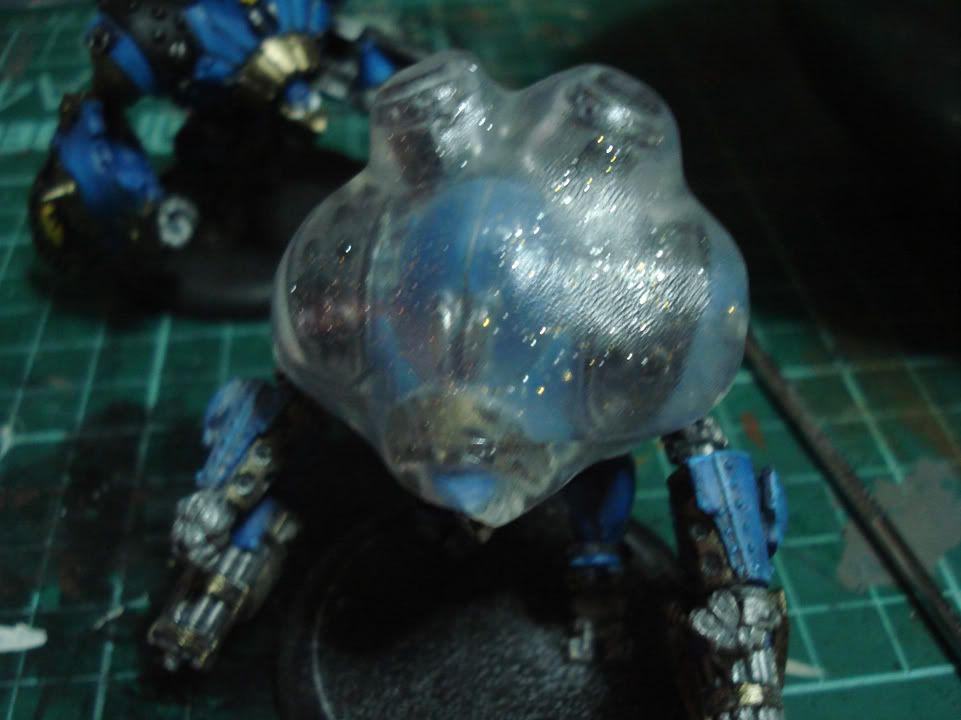
... so I had to work fast and start pressing it against the part I wanted to cast. I made sure to push the Oyumaru into every nook and cranny well.
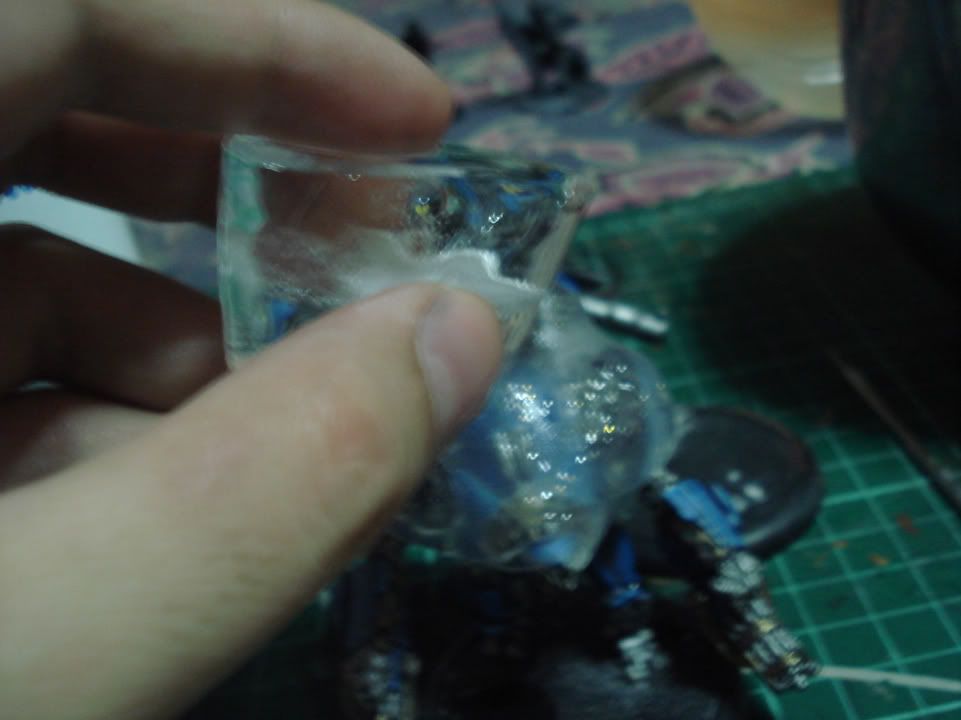
After I was satisfied with my mold placement, I cooled the mold with an ice cube so I can pop it off.
I was able to pop the Oyumaru off. I decided a couple minutes on the ice cube should let it set real well.
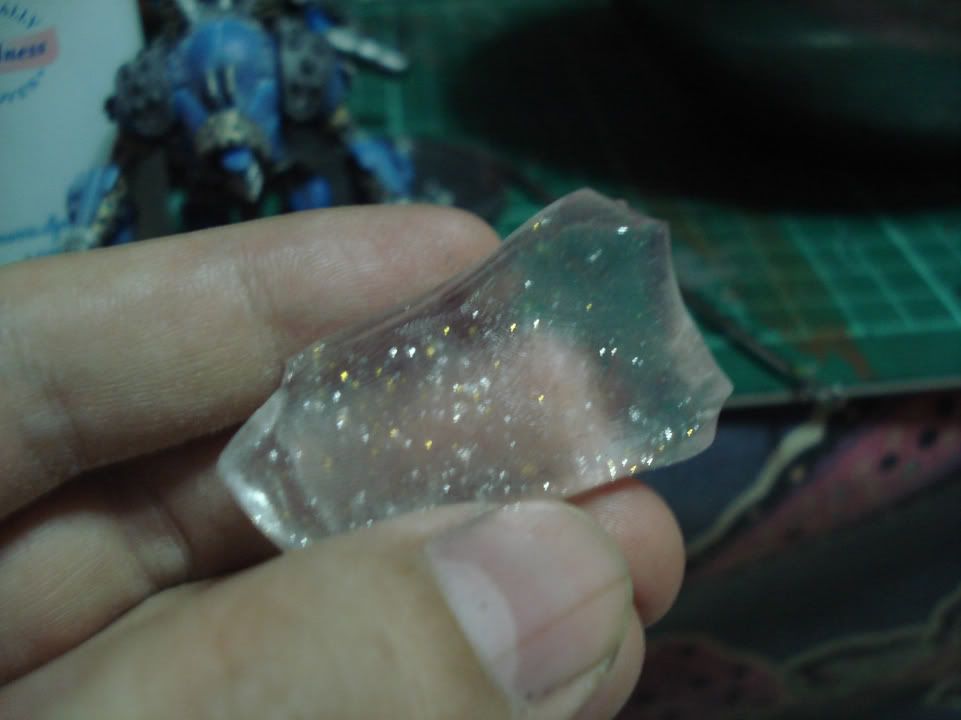
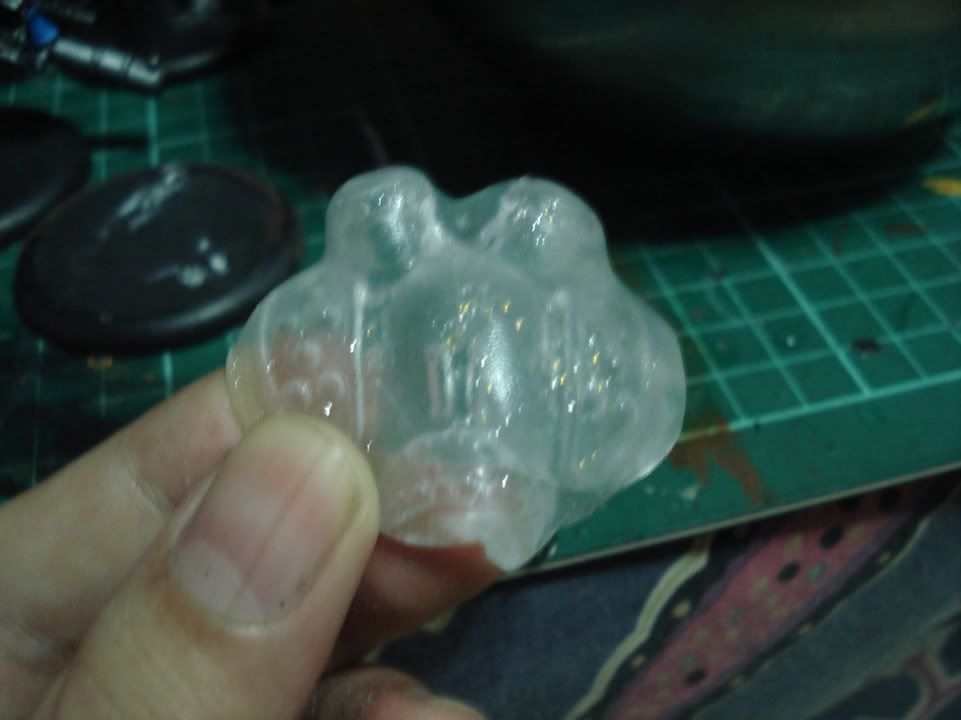
And here's my mold. You can see the detail that was retained.
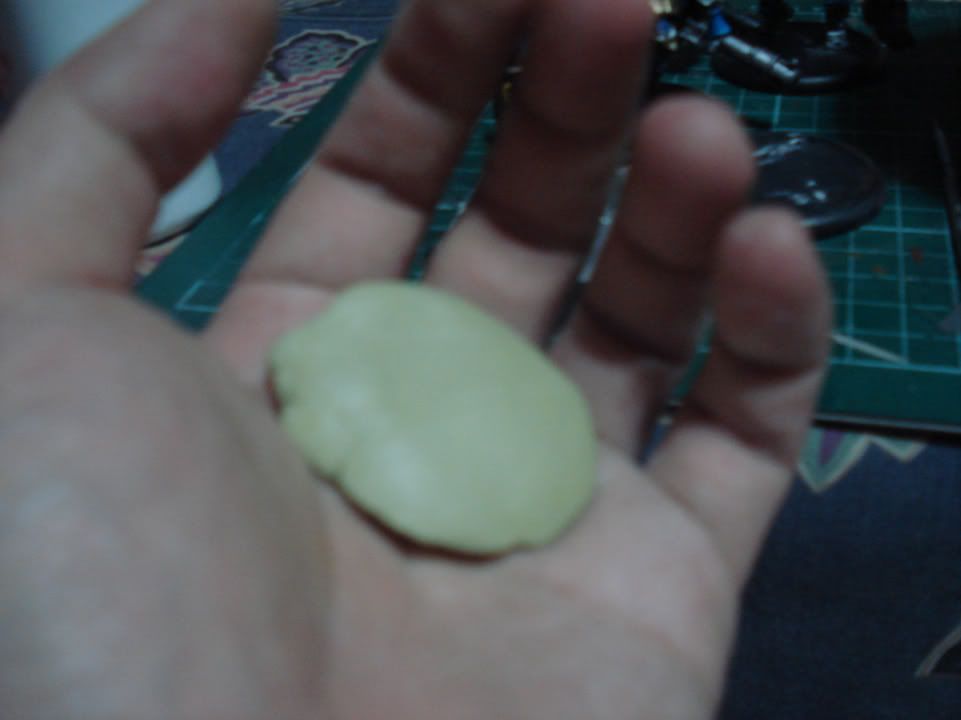
I prepped a blob of milliput using talc on my hands to keep it from sticking.
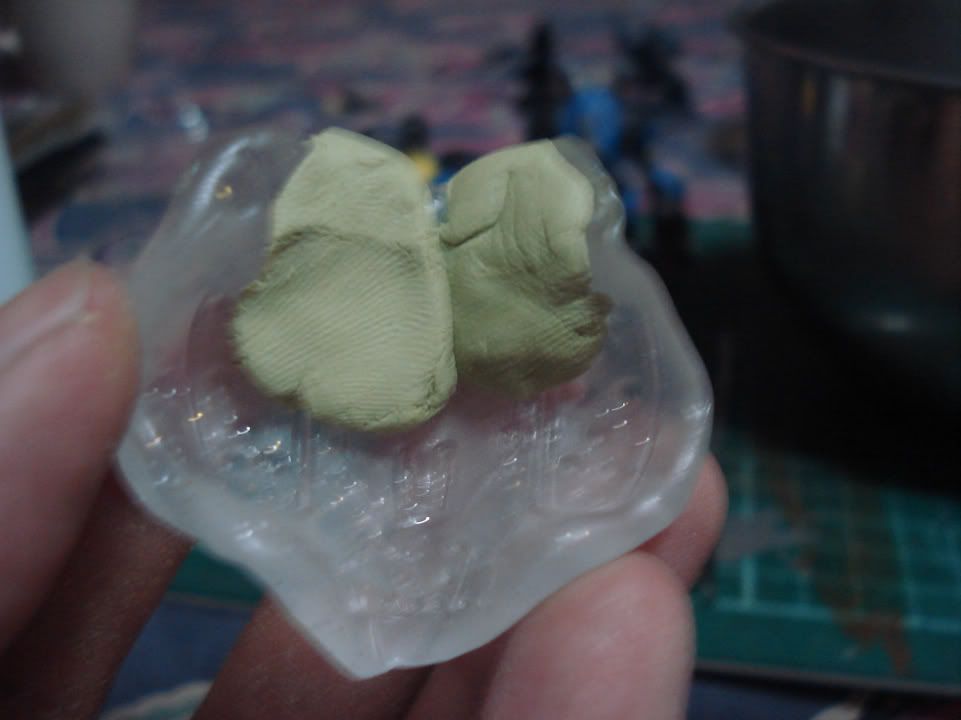
Now this is the part I should've spent more time with in hindsight. I pressed the milliput  into the mold in little pieces to minimize the air bubbles.
The mold flexes a bit but goes back to the shape it had when cooled. I tried to push the milliput in all the crevices as best as I could.
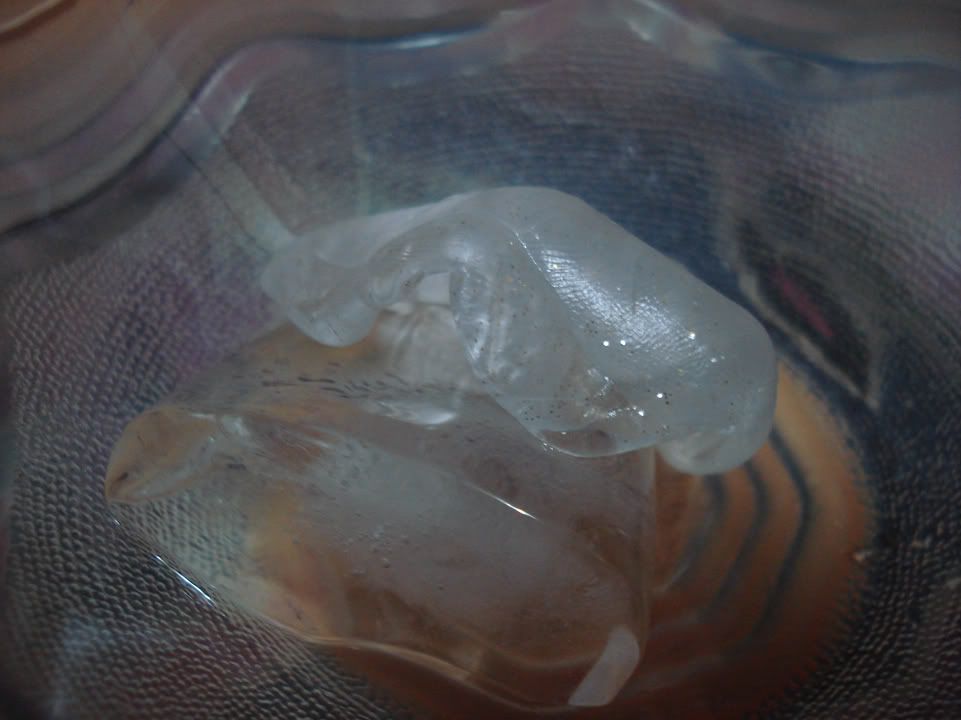
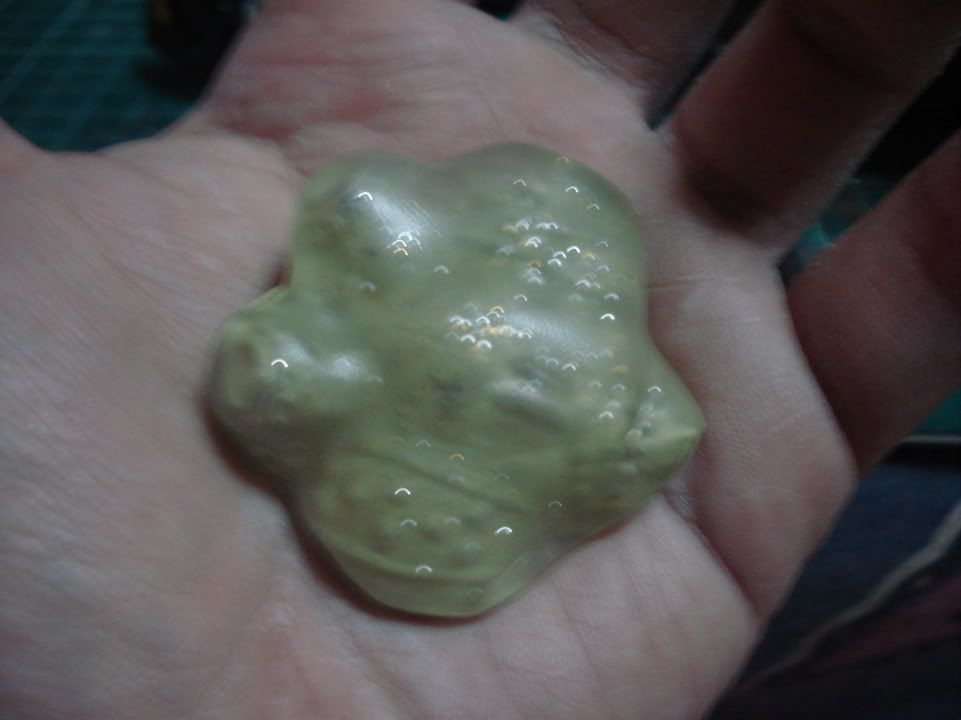
After an hour I was able to pop off the Oyumaru from the milliput. The milliput is still soft at this point but stiff  enough to hold it's shape.

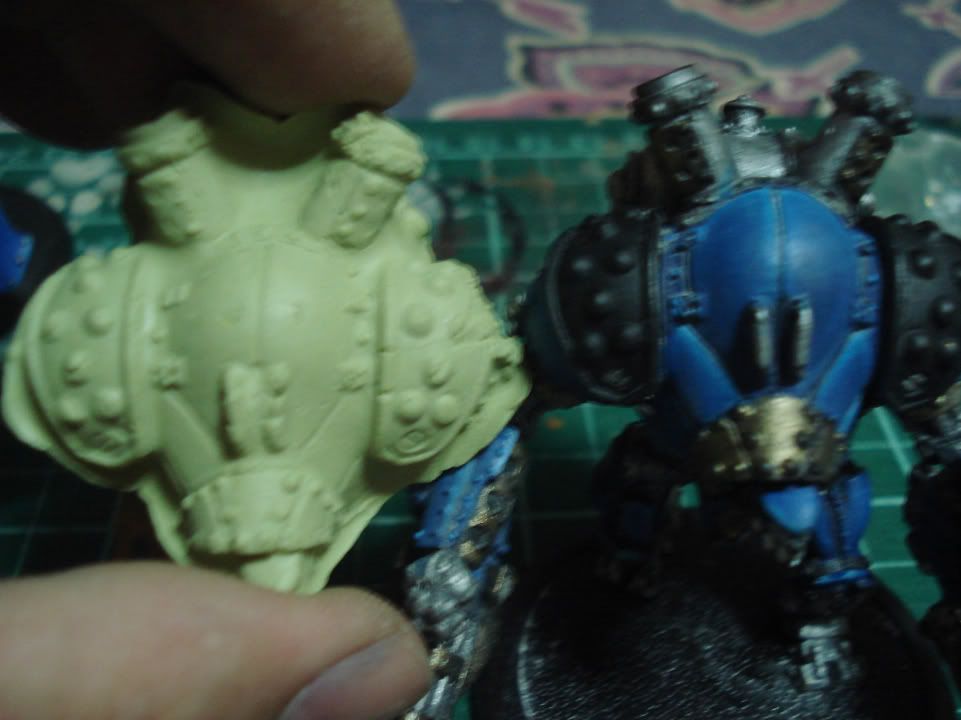
I think my first mold went pretty well. If you look at the last picture closely you'll see some creases and air pockets that I missed. For my purposes though this is perfect. The milliput hardens up really nicely after 24 hours. It's pretty strong but still easily workable. i tried to snap off the smokestacks but I couldnt. Neat!

I'll trim some of the excess milliput off which is easy with a sharp blade and drill holes into the smokestacks.

So what will I be using the finished piece for? Well, the last post should give you a clue ;)

Sunday, April 3, 2011

Project 365: Day 71 - Pinning

Just a bit on Pinning for assembly and in this bit, repair.

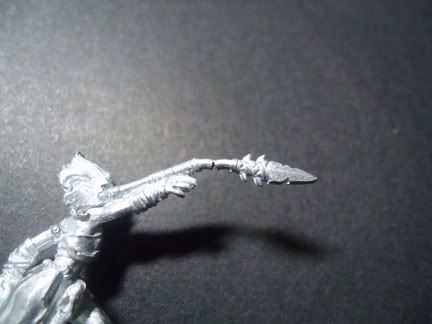
I'm filling out my Tharn Bloodtracker units to a full ten-man squad and I also got Unit Attachment as well. While less fiddly than some of the models in Privateer Press' line, the Tharn ladies suffer from  a bending problem. It's time to replace the weapon shafts with something a lot more durable.

No matter what game line you play, whichever manufacturer you buy from, if you're working with metal figs you'll end up with something like this. A bent shaft. Ouch!  No worries though because most of the time you can just bend em back straight.
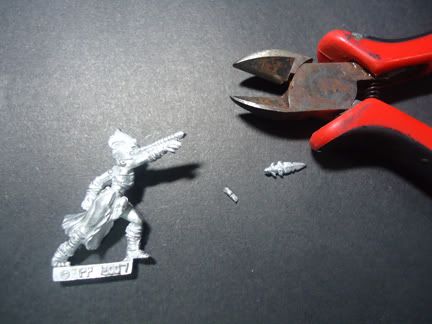
... but this isn't one of those times. We're gonna have to operate.
Snip snip. (Nurse hand me the guava leaves...) On a side note, this is the second appearance of Lord Tetanus.
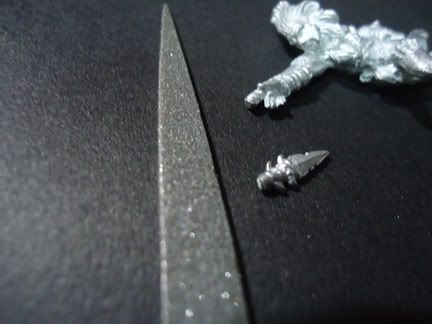
Make sure you file the contact points flat. Make sure you file in one direction.
Get yourself  an awl or a needle tool or any other pointy pokey device (patent pending)
White metal is pretty soft (thats why we have this problem in the first place) so your pokey thing should penetrate and create a good pilot hole
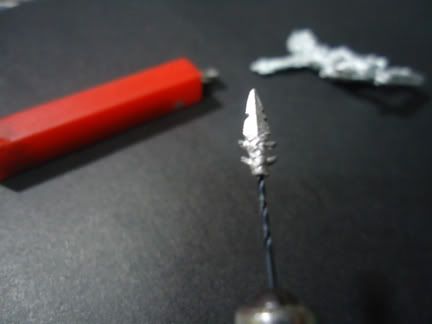
The pilot hole is important because it'll help keep your pinvice drive that drill down straight. Very important for narrow pieces like this spearhead. Do the same for the spear shaft.

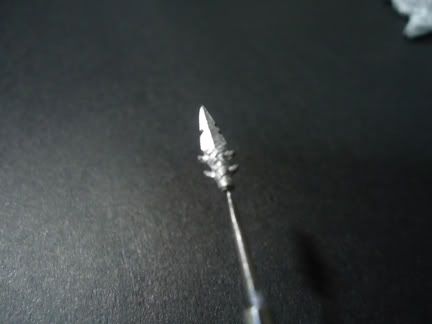
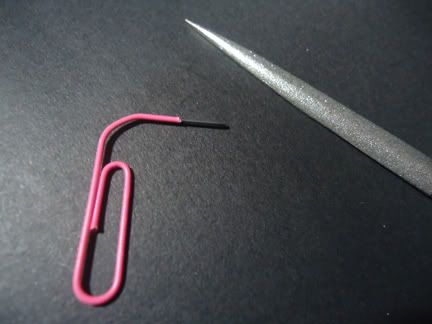
For the replacement shaft, get a paperclip that fits the holes that you just made. Make sure you rough up the wire with a file to give the superglue something to grip to.
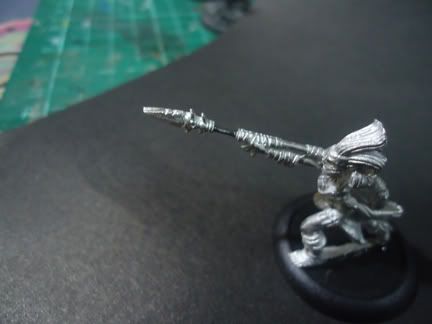
Take your time, keep a steady hand and an even pace and with the drilling. Dry fit the parts and use superglue to finish the repair.

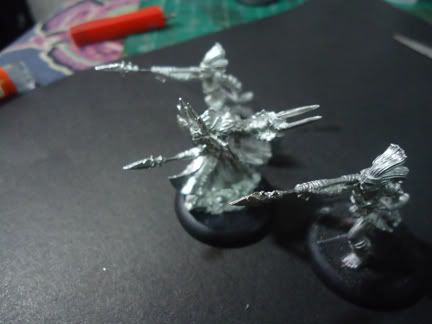
I did this for two more models in the unit. I also used the technique to pin the arms for the Bloodtrackers as well.

So there ya have it :). I'll have a few more updates on the ladies once I start painting them.


Saturday, March 12, 2011

Project 365: Day 61 - Kaya Rebirth - WIP Part 2

View Part 1

Some more work with my favorite warlock.

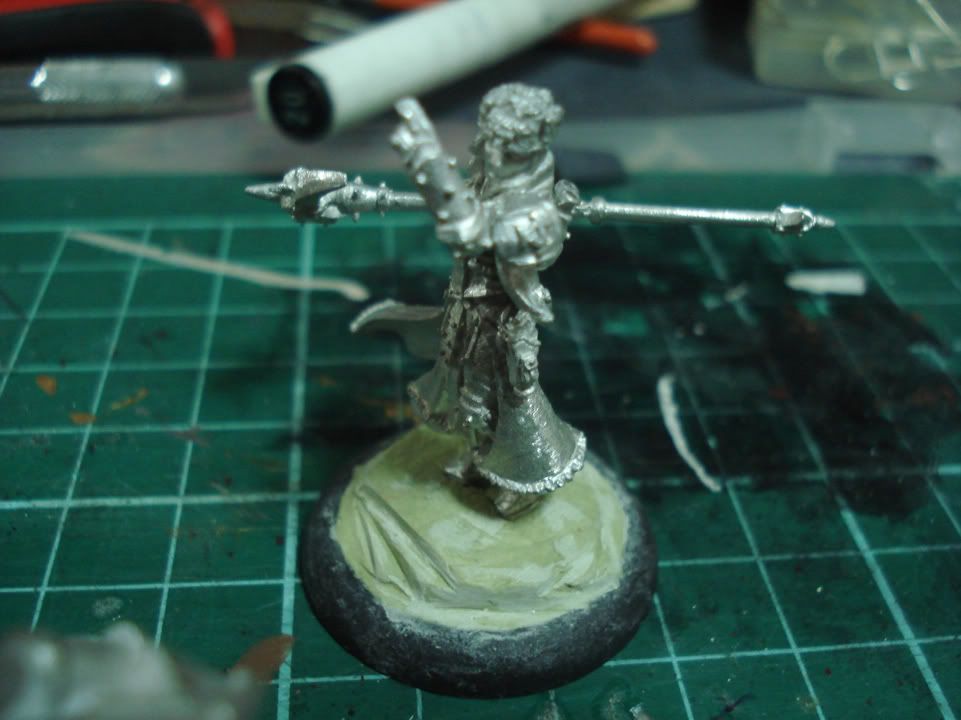
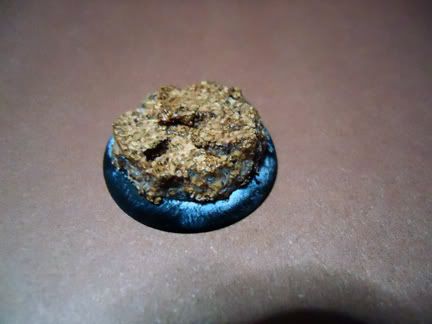
Added some torn cork to the base and sealed it with super glue. The white stuff you see is the "crazing" or frosting effect from the glue. For this stage the frosting isn't a problem as ill be painting over it later.
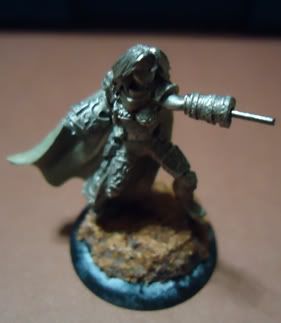
One final test fit before comitting. Luckily I did this and found that the glue swelled up the cork so Kaya wouldnt fit in the holes I made earkier, Easily fixed with a few good strokes from a hobby knife. I also made sure to trim the pin at the arm to accomodate the hand and weapon.
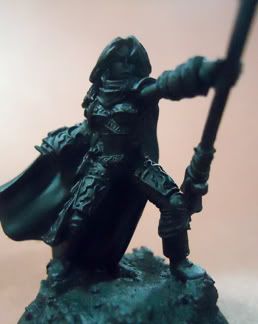
After priming. I must note that the hand isnt glued yet. I will be painting the majority of the fig without the hand so I dont have the weapon getting in the way of my brush.


Stay tuned for Part 3.

Monday, March 7, 2011

Project 365: Day 59 - Kaya Rebirth - WIP Part 1

After Kaya's  brakefluid bath the paint sloughed off beautifully. Unfortunately the brakefluid deformed the base. This was the first time I experienced brakefluid deforming plastic bases after stripping quite a few figs so that came as a surprise. Fortunately I was able to find a spare.

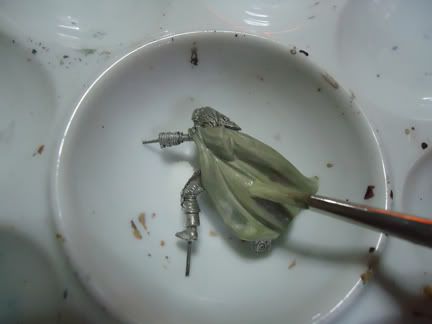
As I was cleaning the fig I started noticing the moldlines and pitting in the metal that I was not able to take care of before. I'm going to take my time with this fig and try to "level up" my skill so I'm going to try a trick I read about: The Milliput cream

I dissolved a small amount of mixed milliput into a cream that I could paint on the fig. I used an old brush for this as the putty will probably ruin a good brush
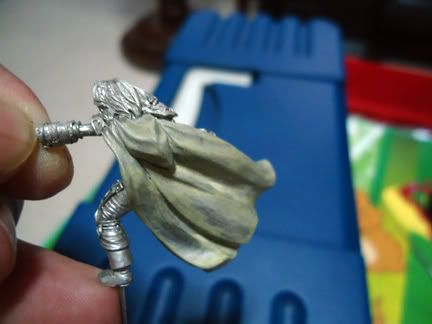
I painted the cream on the areas I need smooth. The Kaya fig was well-cast but there was some pitting that sanding and filing cant fix. The milliput cream will fill in those pits and sanding will leave an ultrasmooth finish.
The milliput cream after drying. I also did the inside area of the cape.

The milliput cream filled in the pits and scratches beautifully and sanded well after it was fully dry. One thing to watch out for is that the cream can fill in and obscure detail so make sure you're carefull applying the cream. If you accidentally paint over detail wipe the cream off immediately with a wet q-tip and a needle if necessary.

Go to Part 2

Project 365: Day 58 - Spacewolf Dread WIP Part 1

Fuck I'm way behind on my commission work

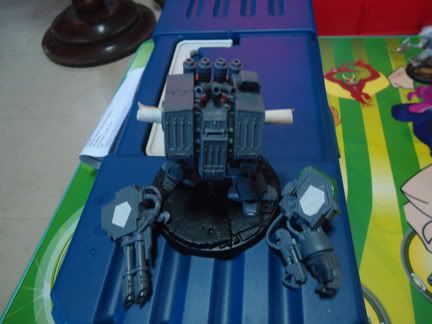
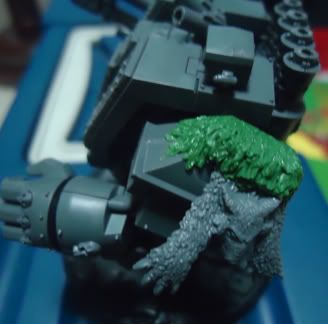
Anyway, I finally got some work done. Primed 12 (?) spacewolves for Felix and worked on his dreadnaught. This would be the first time painting a 40k dreadnaught so this ought to be fun.

Normally when taking tabletop work I dont assemble and paint them as is. Not being an expert in WH40k I really wouldnt know the weapons configurations and WYSIWIG madness. I paint them as they come.

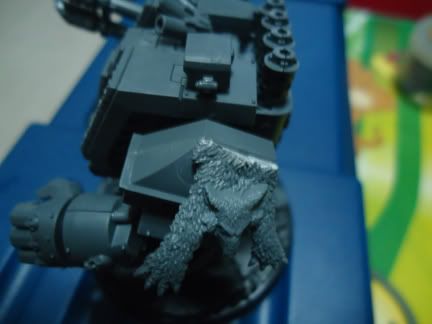
Sometimes though they come in states that would require repair. This time, the dread just came a little...unfinished.

The dreadnaught is decorated with this fur piece. You can see clearly where the cut was made.
A little greenstuff camouflages the problem.
I tape up the peg and holes before priming.

I'll prime this bad boy up and post the succeeding steps here so stay tuned.

Part 2 is up!

Monday, January 10, 2011

Project 365: Day 11 - Miniatures - Assembling Megalith Part 3

Check out  Part 1 and Part 2

Greenstuff-a-go-go!

So last stretch of assembly and this probably involved more greenstuff than I have worked it to date. Since I had to reposition the arms I had to replicate the "wood" sculpt on the shoulder joint to cover up the flat mating point of the original sculpt.

Again this was easier than I had anticipated. Using an Xacto knife lubed with petroleum jelly I was able to texture the greenstuff into a good approximation of the bark. I was also able to copy the sculpting of the rope by starting with putty sausages. And no, I did not sculpt with my drill bit :P

Once that was dry I pinned the arms into the shoulders at an angle seen below:

Come at me bro!
I think I managed to repose the arms into a less awkward pose and more of a "welcome to the gun show" pose. I felt this helped emphasize his size more. Anyhoo feel free to let me know what you think. At this point though I wasnt done with him. I had to replace the dinky shrub on his back with something more befitting a character woldwarden.

I took some wire and some of my paperclips. With a little twisting and bending I had the beginnings of an armature for his tree. After attaching it to Megalith via the pinhole in his back I them repositioned the branches till I was happy with how they were placed and started wrapping greenstuff around the armature to make it look like bark.

While wrapping the armature in greenstuff I had some problems with the putty shifting and moving in ways I didnt want it to. In hindsight, I couldve made my life a lot easier by smearing superglue to the armature and letting it dry and thus giving the greenstuff a rougher surface to cling on.

Here's the final assembled Megalith. I really wish i took more backshots of him because I had to sculpt the tree into his torso in a way that made it look like the tree was sprouting from him, like it was a part of him.

This is what happens when you swallow seeds...

One other regret I had with this is I wish I had also taken pics of megalith during the painting stage. I will be posting a pic of Megalith painted in the future. That should be the first thing i do once i find my charger or secure another digicam.

Tell me what you think.

Sunday, January 9, 2011

Project 365: Day 10 - Miniatures - Assembling Megalith Part 2

From the ground up :)

if you haven't yet, please check out Part 1

I like my warbeasts to be on a scenic base as this makes an already large warbeast all the more impressive. During the dryfitting stage for my large warbeasts I take the base into account for the final pose. My material of choice is cork :) specifically cork board. I like cork because it's easy to work with, letting you carve, cut and tear it into natural looking shapes that look like convincing scale rock when painted.


A medium base, a large base some corkboard and an Xacto knife. Pay no attention to the stray hair. I command it!

One thing I noticed is that a medium base fits onto a large base almost perfectly. I used the medium base as a template and scored into the board with an Xacto knife. I didnt cut all the way through so I can get a slightly ragged edge. Viola!

During the dry-fitting stage I noticed the gap in Megalith's torso. After scoring the mating areas with an Xacto knife I then lined it with greenstuff.


I used some petroleum jelly on the end of my brush as a smoothing tool


I also attached the legs. The sculptors were kind enough to have the legs attach to posts like an action figure but this made some new problems as just attaching the legs would make it pivot. To fix this i put in a little greenstuff for the legs to stick to


Any excess greenstuff was either trimmed off or sculpted like vines

Once the bond was solid I attached the head with some greenstuff and angled it so that Megalith was looking slightly to the side


Once everything was dry I started drilling my pinning holes. Those were located on the foot, Megalith's back where the twig was supposed to be and finally under the shoulders. The shoulders had tabs where the arms were supposed to slot into. i wouldnt be needing those so I had to slice and file them off. It was easier than I expected. Just remember to cut away from you at all times. With the plan I had in mind I decided to drill into an angle into the shoulder


I then also drilled straight through the base and cork to fit a paperclip through. I used a fairly large paperclip that I roughed up a bit with a file.

Trimming the excess. I have since dubbed my clipper "Lord Tetanus". Obviously I made sure to not cut in this position as thats a perfect way to take an eye out. Protect yourself from flying bits please.
If you'll notice I carved a step into the cork for the foot to rest on.


I then mounted everything with a lot of superglue. The cork soaks up a lot of the superglue and in the process hardens the cork nicely :)

With the upper legs and torso resting on the base to dry I then proceeded to sculpt the arms.

Watch out for part 3.