Just a list of things I'm supposed to be working on. I've started on these and they're currently sitting unfinished. Maybe this will get me off my butt...
WIPs:
Trollblood Fennblades + UA (12 models, assembled, based, primed)
Trollblood Stone Scribe Chronicler (assembled, primed and partially painted)
Trollblood Borka Kegslayer (Assembled, based, primed...thinking of stripping and repriming)
Trollblood Earthborn Dire Troll (assenbled, primed and based)
2 Circle Orboros Argus for Monroe (2 models, assembled, primed, no basing yet)
Grey Knights Terminators for Jeff (assembly)
Grey Knights Jokaero for Jeff (assembly)
Khador Kommander Sorscha 2010 (assembled, based, primed)
Khador Forward Kommander Sorscha (assembled)
Khador Beast 09 (unassembled)
Cryx Warwitch Deneghra (assembled)
Holy hell thats a lot... and I have this secret project that i need to get done in 3 weeks time.
..eep

Games, art, life and anything else that spills out of my head that really, really shouldn't get out...
Showing posts with label WIP. Show all posts
Showing posts with label WIP. Show all posts
Tuesday, June 14, 2011

Tuesday, April 19, 2011
Project 365: Day 85 - Kaya Rebirth - WIP Part 4
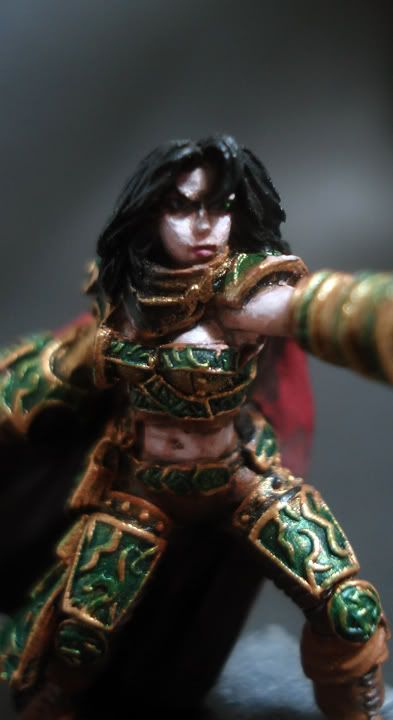
Just a peek at what I've been working on:
 Skin is a little bit rough. Thinking a wash should fix that.
Wednesday, April 6, 2011
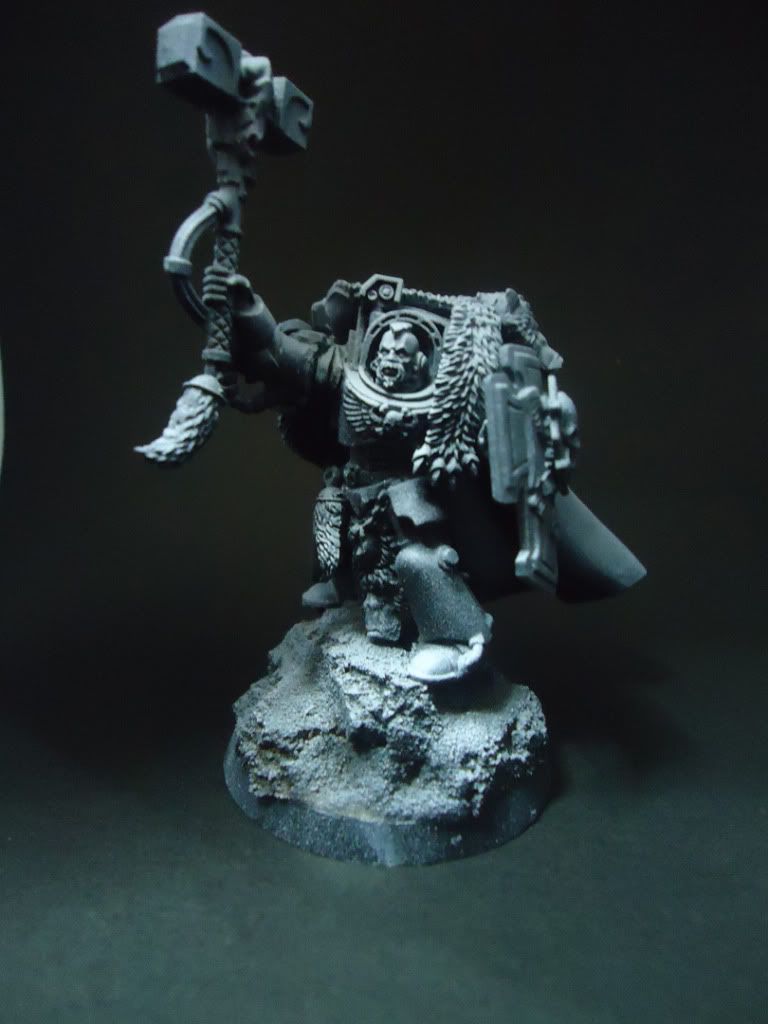
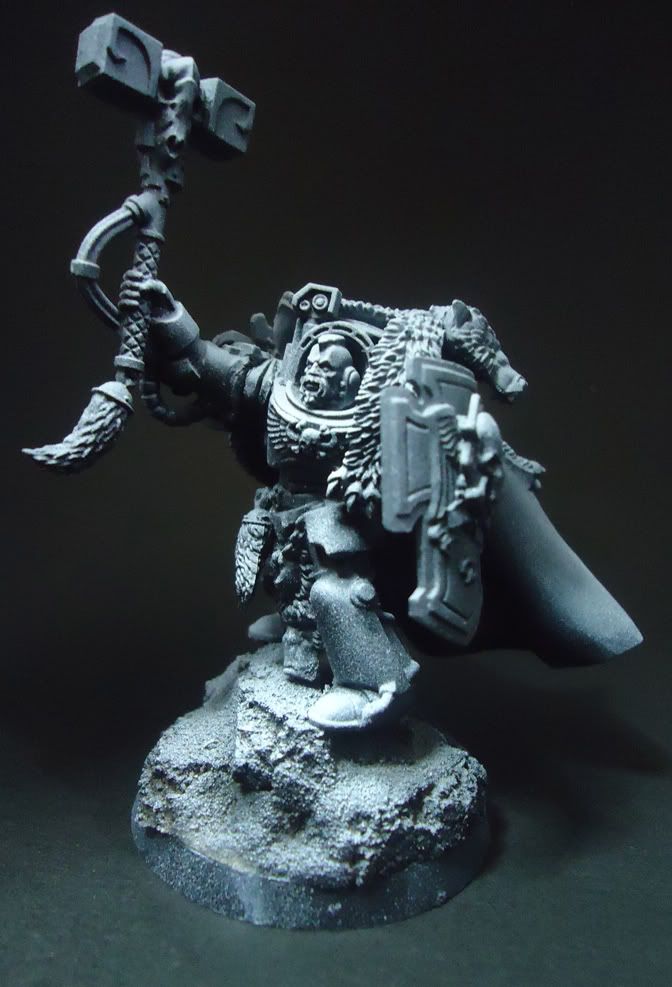
Project 365: Day 77 - Space Wolf Terminator with Thunderhammer Part 2
Primed Thunderhammer-er. Primed from black, to grey and white to help me with zenithal lighting.

 Decided to try this out after seeing that No Quarter article from Privateer Press as well as this link:
http://www.helldorado.fr/figurines/helle-moller-step-by-step-painting-guide-by-thomas.php
Thanks to Junex for the link :)
http://www.helldorado.fr/figurines/helle-moller-step-by-step-painting-guide-by-thomas.php
Thanks to Junex for the link :)
Sunday, April 3, 2011
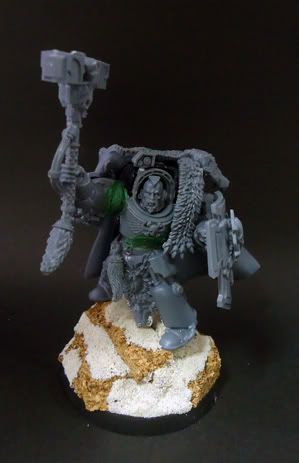
Project 365: Day 74 - Space Wolf Terminator with Thunderhammer
Greenstuff still in progress. I am still struggling with sculpting :| but I think I can manage what I'm about to do here.


I hate how Terminators dont have hips and can't move their arms laterally :p
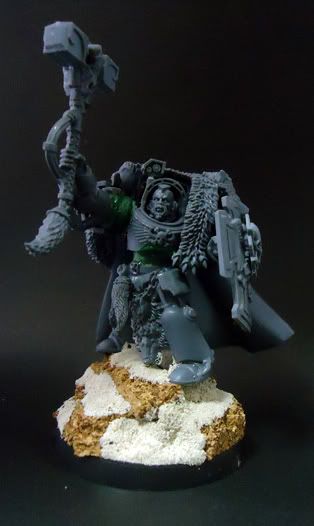
I hate how Terminators dont have hips and can't move their arms laterally :p
Project 365: Day 70 - Spacewolf Dread WIP Part 4
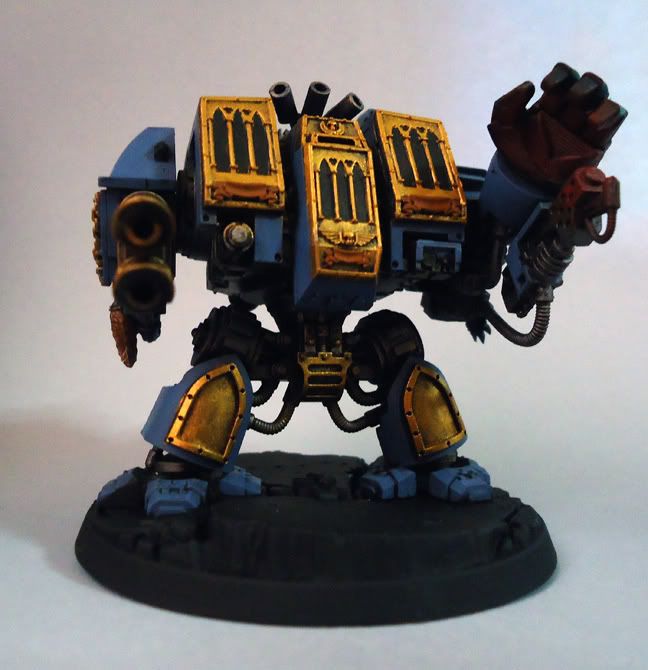
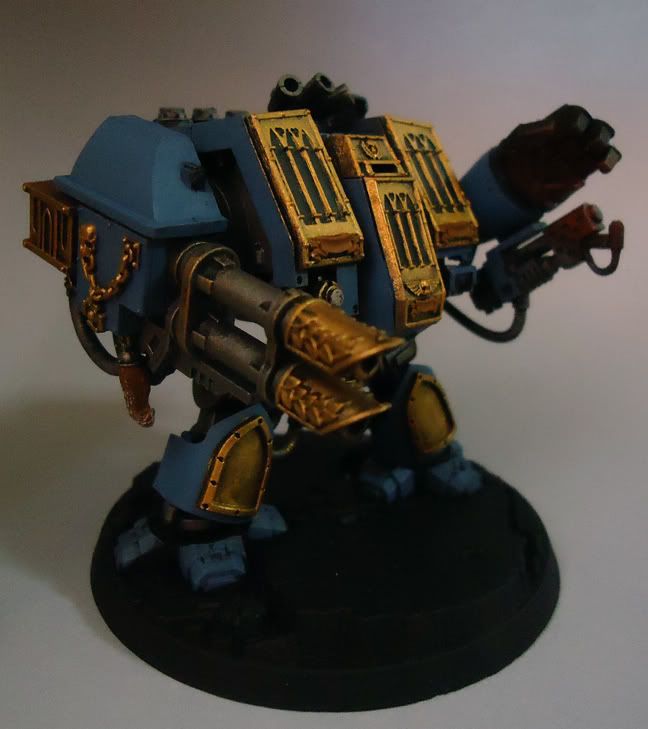
Finally got a camera and I've got pics!


Just a bit of cleanup around the base and I'm calling this done. Wish I planned this out more (was thinking of doing stained glass effects on the shins but I got stuck in the planning and I didn't know if i could pull it off) but I don't think its that bad for my first dread and it's really just Tabletop quality :) Hopefully I can get to do something a little crazier when another dread comes my way.
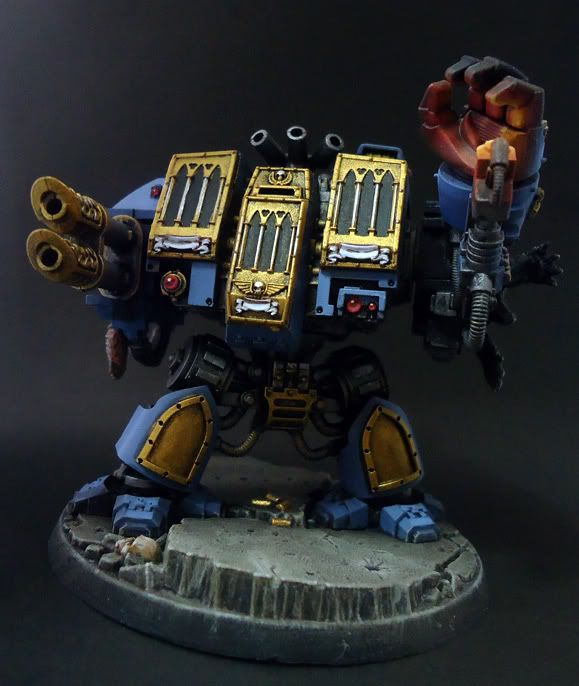
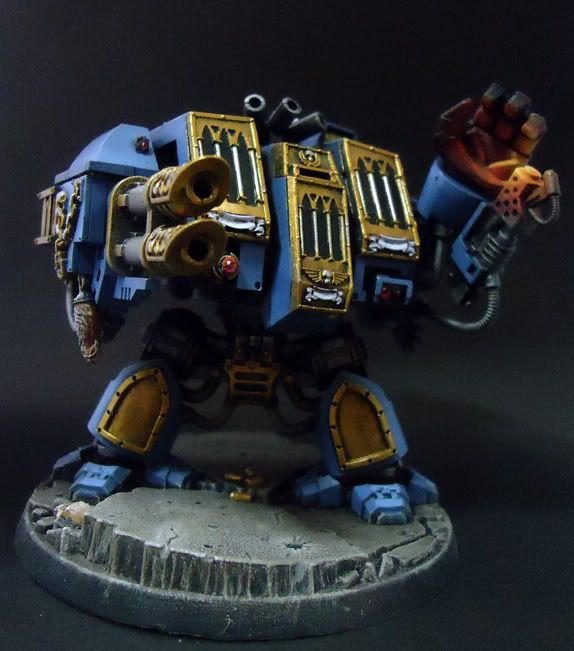
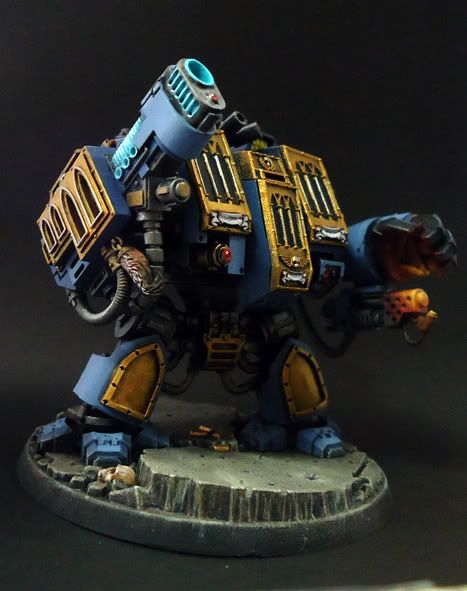
Just a bit of cleanup around the base and I'm calling this done. Wish I planned this out more (was thinking of doing stained glass effects on the shins but I got stuck in the planning and I didn't know if i could pull it off) but I don't think its that bad for my first dread and it's really just Tabletop quality :) Hopefully I can get to do something a little crazier when another dread comes my way.
Sunday, March 20, 2011
Project 365: Day 67 - Kaya Rebirth - WIP Part 3
Part 2 can be found here
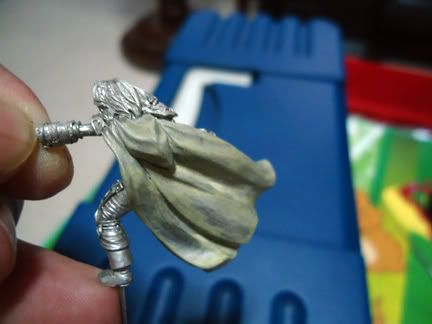
Drybrush work on the armor and base as well, Chaos Black touch ups and basecoats for the cape. The cape painted on so smoothly that I went ahead and started blocking out the shadows just to give me a good idea of how to progress with it later on.
Again the weapon hand isn't glued into place as of yet. I kinda forgot to include this bit with my previous batch of drybrushing. Need to work on that later.
Drybrush work on the armor and base as well, Chaos Black touch ups and basecoats for the cape. The cape painted on so smoothly that I went ahead and started blocking out the shadows just to give me a good idea of how to progress with it later on.
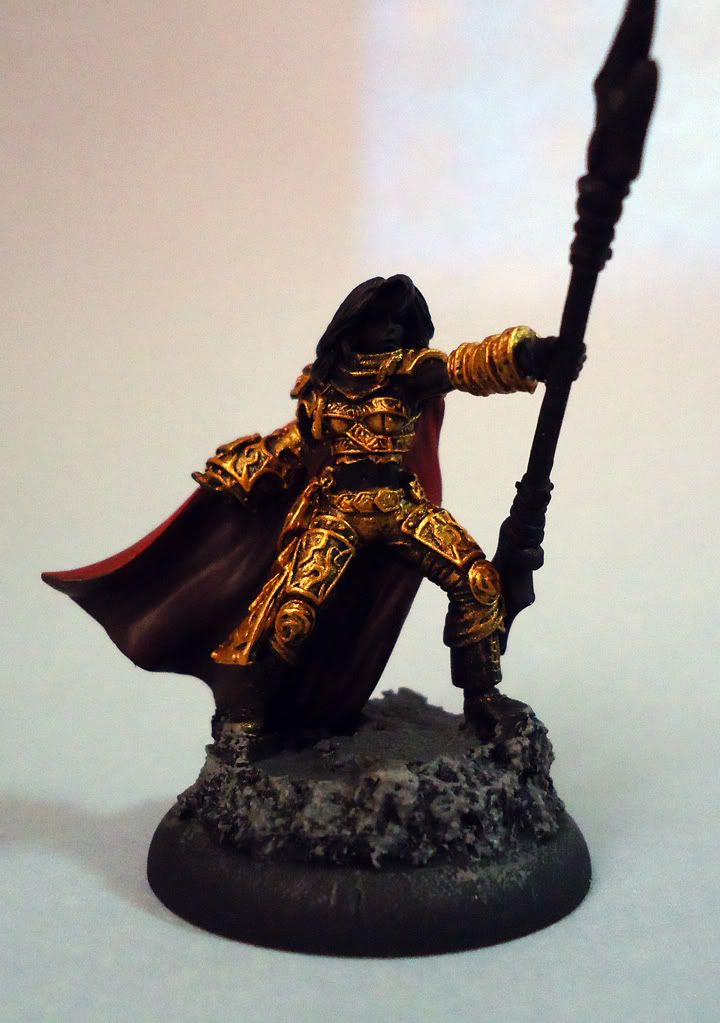 |
| Various P3 grays for the rock base. I will need to wash some green in there later on for a more convincing rock effect. |
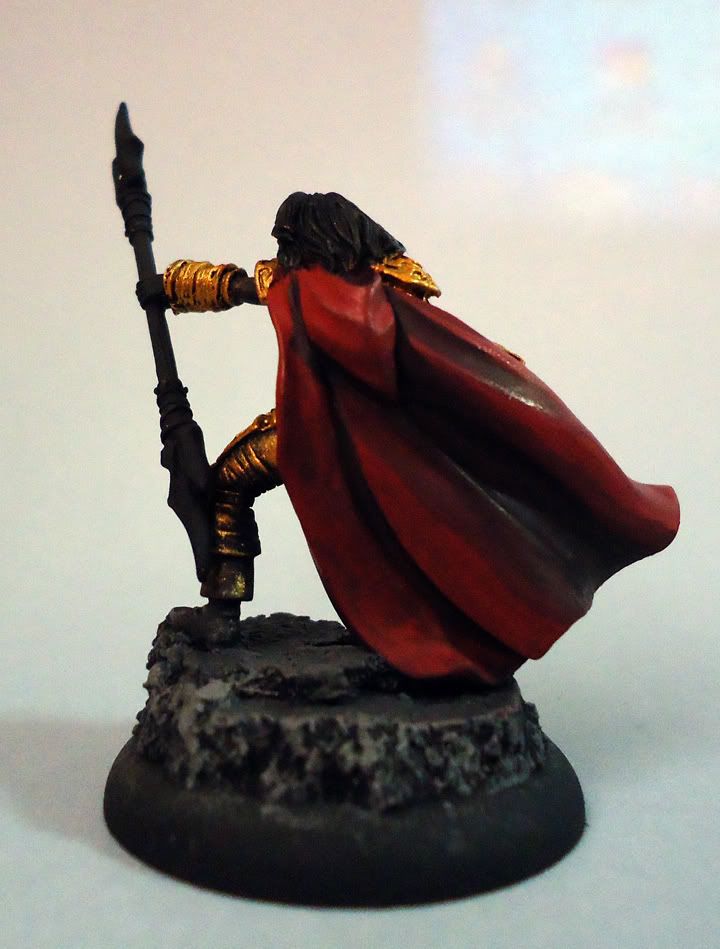 |
| Didn't expect the milliput paste to make such a big difference. You can't see much of the effect in the pic but you will definitely feel the smoothness once you lay brush to figure. |
Again the weapon hand isn't glued into place as of yet. I kinda forgot to include this bit with my previous batch of drybrushing. Need to work on that later.
Project 365: Day 66 - Spacewolf Dread WIP Part 3
Part 2 can be found here.
More work on the Spacewolf Dreadnaught. Just basecoats and some drybrushing. Also note the beginnings of OSL work on the flamer and hand.
What do you think?
I really don't know what direction I'm going with this dreadnaught. Note the shins and the sarcophagus panels. French Arches and trefoils make me think of going "stained glass windows" on the shins for a "church" look. But this is a Spacewolf 'naught so...yeah. Not the most religious folks out there.
More work on the Spacewolf Dreadnaught. Just basecoats and some drybrushing. Also note the beginnings of OSL work on the flamer and hand.
What do you think?
 |
| I'm thinking of making the flamer and the immediate area round it glow hot as if he'd been firing his flamer for a good while. |
 |
| A better view of the twin cannons |
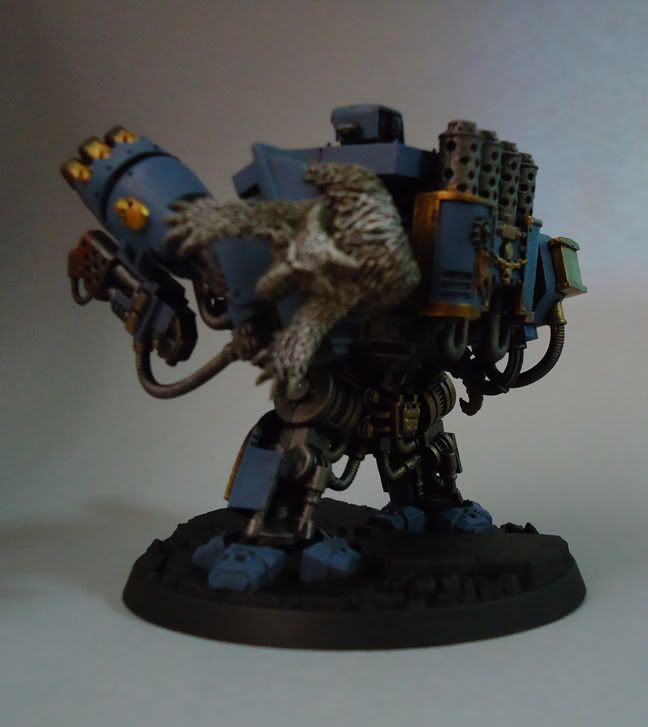 |
| I may tweak the colors of the pelt a bit... |
Project 365: Day 65 - Skinwalker WIP
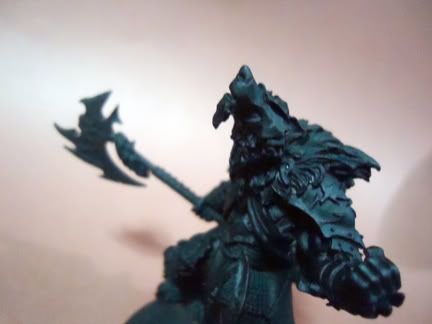
Some drybrush work on stuff.
The Circle Orboros Warpborn Skinwalker Unit Leader. I have two units of these guys and I was just lucky that they figure into the eKaya Tier List. I really didn't care about their rules (they're okay, if a bit vanilla. They do provide a much needed brick wall though), I just couldn't pass up werewolves in armor with halberds.
Kim asked me once why I do the metallics first. It's more about the paint than any other reason. Metallic paint doesn't flow as well as other acrylics. In order to have a solid metal coat I find that either drybrush the paint on or apply it in thicker layers than I'm comfortable with. Thin coats don't necessarily mean good flow either. Worse is if you thin it enough or use a medium you run the risk of getting a "glitter effect" or have the metal pigment gather into corners and dull the detail.
Drybrushing allows a good, thin solid coat of metallic paint. Downside here is that it tends to be messy so I do it prior to everything else.


I do several passes of gold (GW or P3, usually a mix) and touch up with GW Chaos Black on the non metallic parts. Chaos black is essential as it is the mattest black I've seen so far while still being thin and offering good coverage. I wish P3's black was more like Chaos Black but it has a more satin finish. I usually just use P3 Thamar Black for mixing.
The Circle Orboros Warpborn Skinwalker Unit Leader. I have two units of these guys and I was just lucky that they figure into the eKaya Tier List. I really didn't care about their rules (they're okay, if a bit vanilla. They do provide a much needed brick wall though), I just couldn't pass up werewolves in armor with halberds.
Kim asked me once why I do the metallics first. It's more about the paint than any other reason. Metallic paint doesn't flow as well as other acrylics. In order to have a solid metal coat I find that either drybrush the paint on or apply it in thicker layers than I'm comfortable with. Thin coats don't necessarily mean good flow either. Worse is if you thin it enough or use a medium you run the risk of getting a "glitter effect" or have the metal pigment gather into corners and dull the detail.
Drybrushing allows a good, thin solid coat of metallic paint. Downside here is that it tends to be messy so I do it prior to everything else.
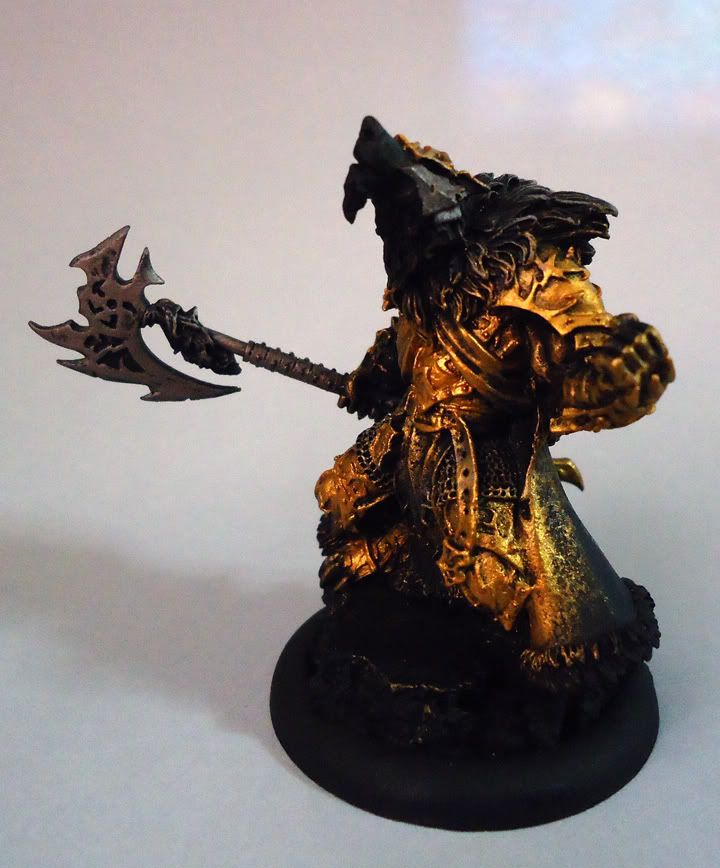
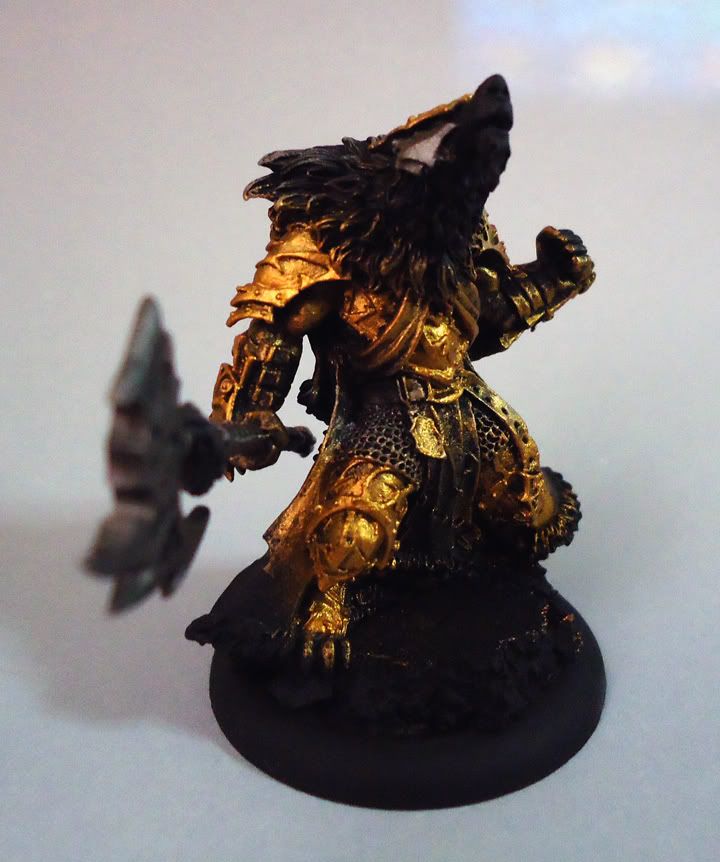
I do several passes of gold (GW or P3, usually a mix) and touch up with GW Chaos Black on the non metallic parts. Chaos black is essential as it is the mattest black I've seen so far while still being thin and offering good coverage. I wish P3's black was more like Chaos Black but it has a more satin finish. I usually just use P3 Thamar Black for mixing.
Monday, March 14, 2011
Saturday, March 12, 2011
Project 365: Day 61 - Kaya Rebirth - WIP Part 2
View Part 1
Some more work with my favorite warlock.
Stay tuned for Part 3.
Some more work with my favorite warlock.
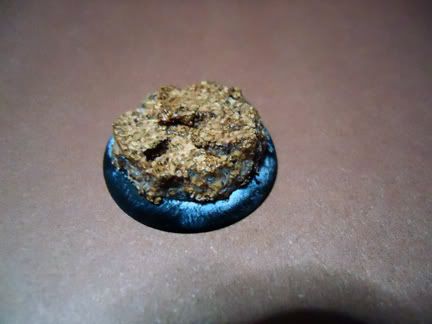 |
| Added some torn cork to the base and sealed it with super glue. The white stuff you see is the "crazing" or frosting effect from the glue. For this stage the frosting isn't a problem as ill be painting over it later. |
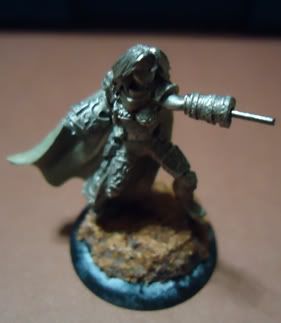 |
| One final test fit before comitting. Luckily I did this and found that the glue swelled up the cork so Kaya wouldnt fit in the holes I made earkier, Easily fixed with a few good strokes from a hobby knife. I also made sure to trim the pin at the arm to accomodate the hand and weapon. |
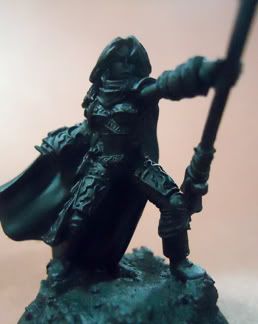 | ||||
| After priming. I must note that the hand isnt glued yet. I will be painting the majority of the fig without the hand so I dont have the weapon getting in the way of my brush. |
Project 365: Day 60 - Spacewolf Dread WIP Part 2
If you haven;t, please make sure to check out Part 1.
Wasn't able to get a lot done on this particular model due to some unforseen developments. I was able to prime the dread as you can see below.
Stay tuned for Part 3.
Wasn't able to get a lot done on this particular model due to some unforseen developments. I was able to prime the dread as you can see below.
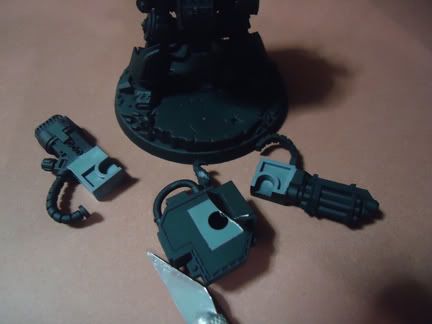 |
| Here I sliced off the tape covering the holes and tabs. I also removed the tape covering the insert tabs for the weapons options. I did this to make sure that the attachment points are not too snug from that layer of primer. If i primed over the tabs, the primer will scrape off or worse yet gum and jam up the insertion point and break a tab. |
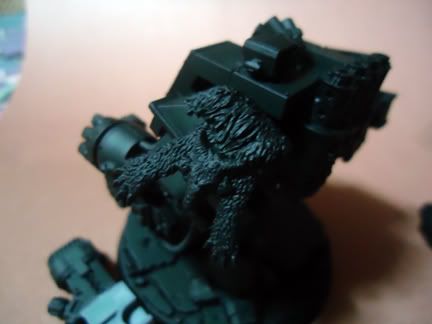 |
| Here you can see the greenstuffed fur nicely blending in with the rest of the fur. You can hardly tell it wasnt part of the model unless you were looking for it. |
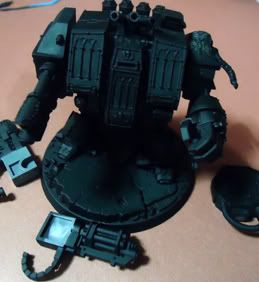 |
| Arms attached and this guy is ready for drybrushing and basecoating. |
Stay tuned for Part 3.
Monday, March 7, 2011
Project 365: Day 59 - Kaya Rebirth - WIP Part 1
After Kaya's brakefluid bath the paint sloughed off beautifully. Unfortunately the brakefluid deformed the base. This was the first time I experienced brakefluid deforming plastic bases after stripping quite a few figs so that came as a surprise. Fortunately I was able to find a spare.
As I was cleaning the fig I started noticing the moldlines and pitting in the metal that I was not able to take care of before. I'm going to take my time with this fig and try to "level up" my skill so I'm going to try a trick I read about: The Milliput cream
The milliput cream filled in the pits and scratches beautifully and sanded well after it was fully dry. One thing to watch out for is that the cream can fill in and obscure detail so make sure you're carefull applying the cream. If you accidentally paint over detail wipe the cream off immediately with a wet q-tip and a needle if necessary.
Go to Part 2
As I was cleaning the fig I started noticing the moldlines and pitting in the metal that I was not able to take care of before. I'm going to take my time with this fig and try to "level up" my skill so I'm going to try a trick I read about: The Milliput cream
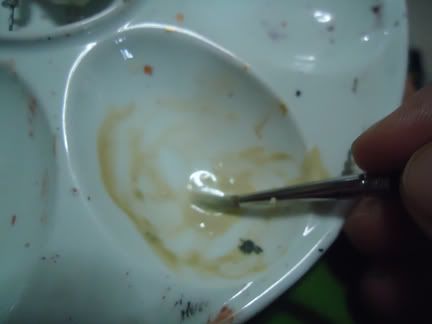 |
| I dissolved a small amount of mixed milliput into a cream that I could paint on the fig. I used an old brush for this as the putty will probably ruin a good brush |
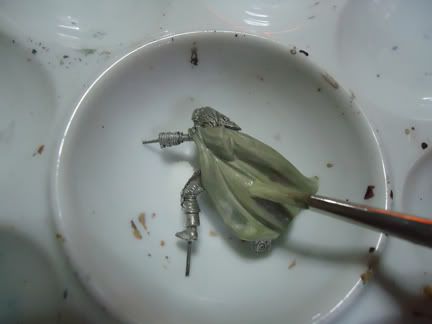 |
| I painted the cream on the areas I need smooth. The Kaya fig was well-cast but there was some pitting that sanding and filing cant fix. The milliput cream will fill in those pits and sanding will leave an ultrasmooth finish. |
 |
| The milliput cream after drying. I also did the inside area of the cape. |
The milliput cream filled in the pits and scratches beautifully and sanded well after it was fully dry. One thing to watch out for is that the cream can fill in and obscure detail so make sure you're carefull applying the cream. If you accidentally paint over detail wipe the cream off immediately with a wet q-tip and a needle if necessary.
Go to Part 2
Project 365: Day 58 - Spacewolf Dread WIP Part 1
Fuck I'm way behind on my commission work
Anyway, I finally got some work done. Primed 12 (?) spacewolves for Felix and worked on his dreadnaught. This would be the first time painting a 40k dreadnaught so this ought to be fun.
Normally when taking tabletop work I dont assemble and paint them as is. Not being an expert in WH40k I really wouldnt know the weapons configurations and WYSIWIG madness. I paint them as they come.
Sometimes though they come in states that would require repair. This time, the dread just came a little...unfinished.
I'll prime this bad boy up and post the succeeding steps here so stay tuned.
Part 2 is up!
Anyway, I finally got some work done. Primed 12 (?) spacewolves for Felix and worked on his dreadnaught. This would be the first time painting a 40k dreadnaught so this ought to be fun.
Normally when taking tabletop work I dont assemble and paint them as is. Not being an expert in WH40k I really wouldnt know the weapons configurations and WYSIWIG madness. I paint them as they come.
Sometimes though they come in states that would require repair. This time, the dread just came a little...unfinished.
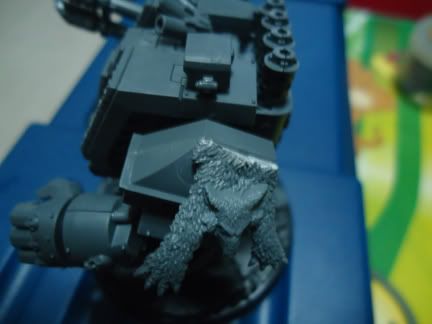 |
| The dreadnaught is decorated with this fur piece. You can see clearly where the cut was made. |
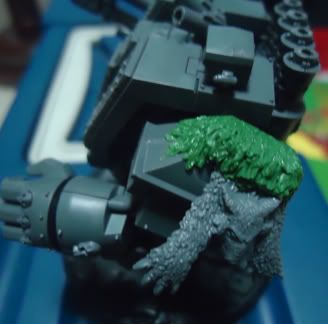 |
| A little greenstuff camouflages the problem. |
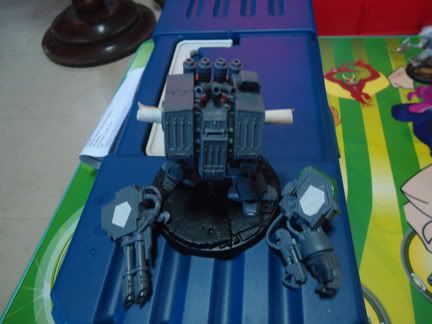 |
| I tape up the peg and holes before priming. |
I'll prime this bad boy up and post the succeeding steps here so stay tuned.
Part 2 is up!
Subscribe to:
Posts (Atom)