Saturday, March 12, 2011

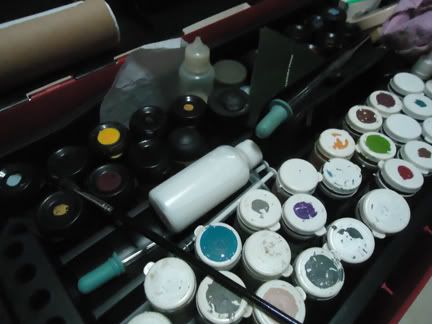
Project 365: Day 62 - A box of ideas.

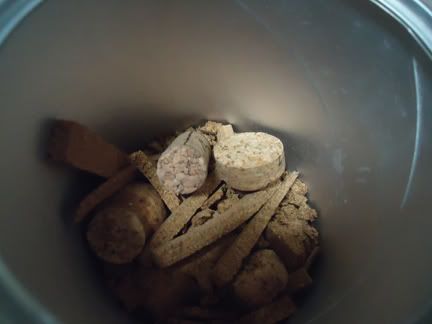
Just a look at whats inside my toolbox.

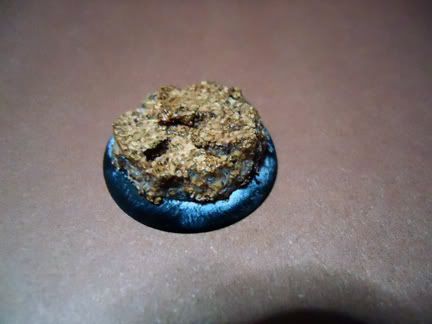
Cork! I make it a point to keep cork from wine and cork scrapscast off from whole sheet. They're very usueful for bases and terrain.
My chaotic toolbox.
I've been way behind on this blog. By my count I'm behind by 11(?) days. Thats not good :p

Again, as I often do, I wont dwell on the cause of delay but rather take the time to refocus myself and my goals for the community and with this blog:

A hobby blog with comprehensive information on where to find tools, supplies and what to substitute for things you can't find this side of the world.

I'm not going to change the minds of the vets nor will i be offering anything revolutionary to the art and the minis community in the Philippines. What I will do though is attempt to make the process of getting started easier and to give those who are getting into the hobby a chance to avoid the pitfalls that I myself and a lot of others have fallen into.

Organize a Miniature Figure Painters Gathering

Discussions can be found in the MWPH Forum

If you have any ideas or are willing to contribute or just want to pop in to see whats going on please dont hesitate to click the link above.

Those are two of the main goals I have for the next quarter if the year. I hope I can get some of it rolling and if  I can manage to do that then the rest of the year is looking exciting indeed.

Laters.

Project 365: Day 61 - Kaya Rebirth - WIP Part 2

View Part 1

Some more work with my favorite warlock.

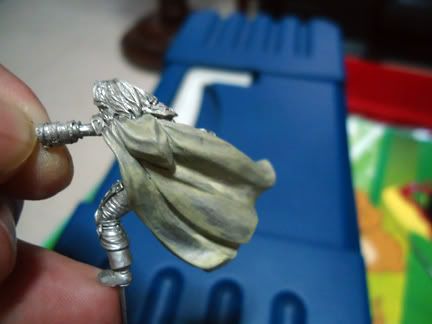
Added some torn cork to the base and sealed it with super glue. The white stuff you see is the "crazing" or frosting effect from the glue. For this stage the frosting isn't a problem as ill be painting over it later.
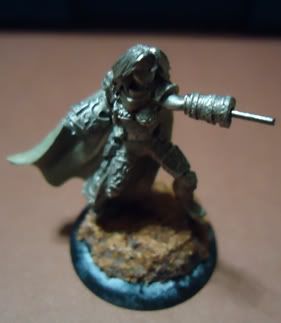
One final test fit before comitting. Luckily I did this and found that the glue swelled up the cork so Kaya wouldnt fit in the holes I made earkier, Easily fixed with a few good strokes from a hobby knife. I also made sure to trim the pin at the arm to accomodate the hand and weapon.
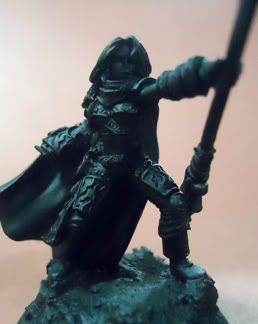
After priming. I must note that the hand isnt glued yet. I will be painting the majority of the fig without the hand so I dont have the weapon getting in the way of my brush.


Stay tuned for Part 3.

Project 365: Day 60 - Spacewolf Dread WIP Part 2

If you haven;t, please make sure to check out Part 1.

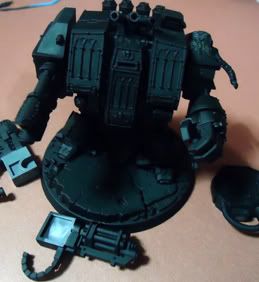
Wasn't able to get a lot done on this particular model due to some unforseen developments. I was able to prime the dread as you can see below.

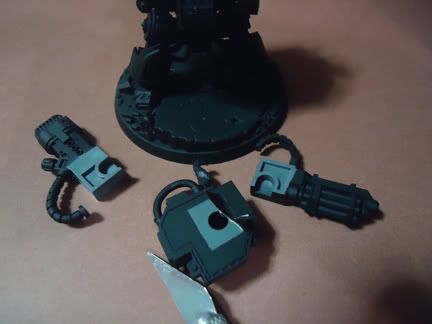
Here I sliced off the tape covering the holes and tabs. I also removed the tape covering the insert tabs for the weapons options. I did this to make sure that the attachment points are not too snug from that layer of primer. If i primed over the tabs, the primer will scrape off or worse yet gum and jam up the insertion point and break a tab.
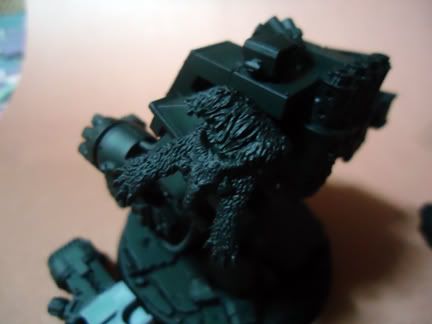
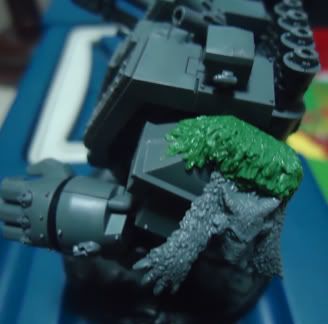
Here you can see the greenstuffed fur nicely blending in with the rest of the fur. You can hardly tell it wasnt part of the model unless you were looking for it.
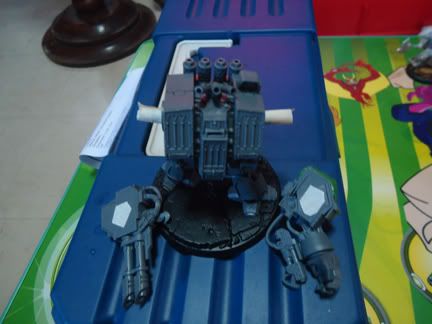
Arms attached and this guy is ready for drybrushing and basecoating.


Stay tuned for Part 3.

Monday, March 7, 2011

Project 365: Day 59 - Kaya Rebirth - WIP Part 1

After Kaya's  brakefluid bath the paint sloughed off beautifully. Unfortunately the brakefluid deformed the base. This was the first time I experienced brakefluid deforming plastic bases after stripping quite a few figs so that came as a surprise. Fortunately I was able to find a spare.

As I was cleaning the fig I started noticing the moldlines and pitting in the metal that I was not able to take care of before. I'm going to take my time with this fig and try to "level up" my skill so I'm going to try a trick I read about: The Milliput cream

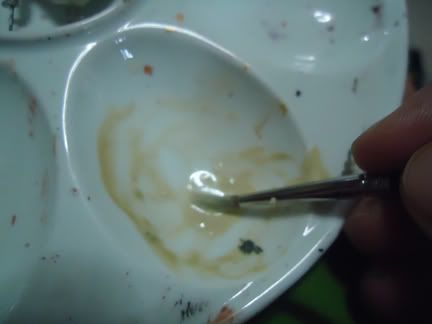
I dissolved a small amount of mixed milliput into a cream that I could paint on the fig. I used an old brush for this as the putty will probably ruin a good brush
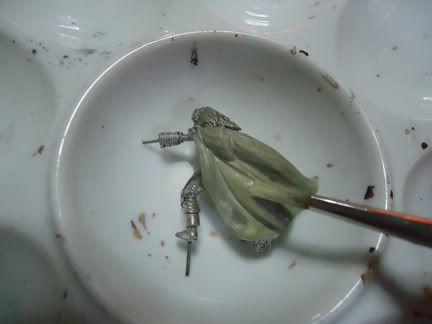
I painted the cream on the areas I need smooth. The Kaya fig was well-cast but there was some pitting that sanding and filing cant fix. The milliput cream will fill in those pits and sanding will leave an ultrasmooth finish.
The milliput cream after drying. I also did the inside area of the cape.

The milliput cream filled in the pits and scratches beautifully and sanded well after it was fully dry. One thing to watch out for is that the cream can fill in and obscure detail so make sure you're carefull applying the cream. If you accidentally paint over detail wipe the cream off immediately with a wet q-tip and a needle if necessary.

Go to Part 2

Project 365: Day 58 - Spacewolf Dread WIP Part 1

Fuck I'm way behind on my commission work

Anyway, I finally got some work done. Primed 12 (?) spacewolves for Felix and worked on his dreadnaught. This would be the first time painting a 40k dreadnaught so this ought to be fun.

Normally when taking tabletop work I dont assemble and paint them as is. Not being an expert in WH40k I really wouldnt know the weapons configurations and WYSIWIG madness. I paint them as they come.

Sometimes though they come in states that would require repair. This time, the dread just came a little...unfinished.

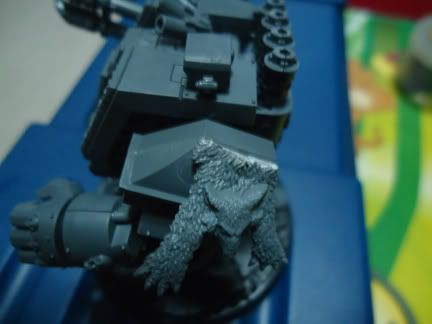
The dreadnaught is decorated with this fur piece. You can see clearly where the cut was made.
A little greenstuff camouflages the problem.
I tape up the peg and holes before priming.

I'll prime this bad boy up and post the succeeding steps here so stay tuned.

Part 2 is up!